
The Ultimate Guide to Creating a Wedding Photography Timeline
I’ll show you step by step the best way for you to create a wedding timeline for your photography coverage. As a photographer, I’ve made sure that the most important moments (like your ceremony and sunset portraits!) fall when the light is hitting your venue just right. That means that this relies a lot on when the sun sets on your wedding day. Make sure you look up what time the sun sets on your wedding day when creating your wedding timeline, and adjust the times accordingly!
For this example timeline, we’re gonna pretend like the sun sets at 7:00pm!
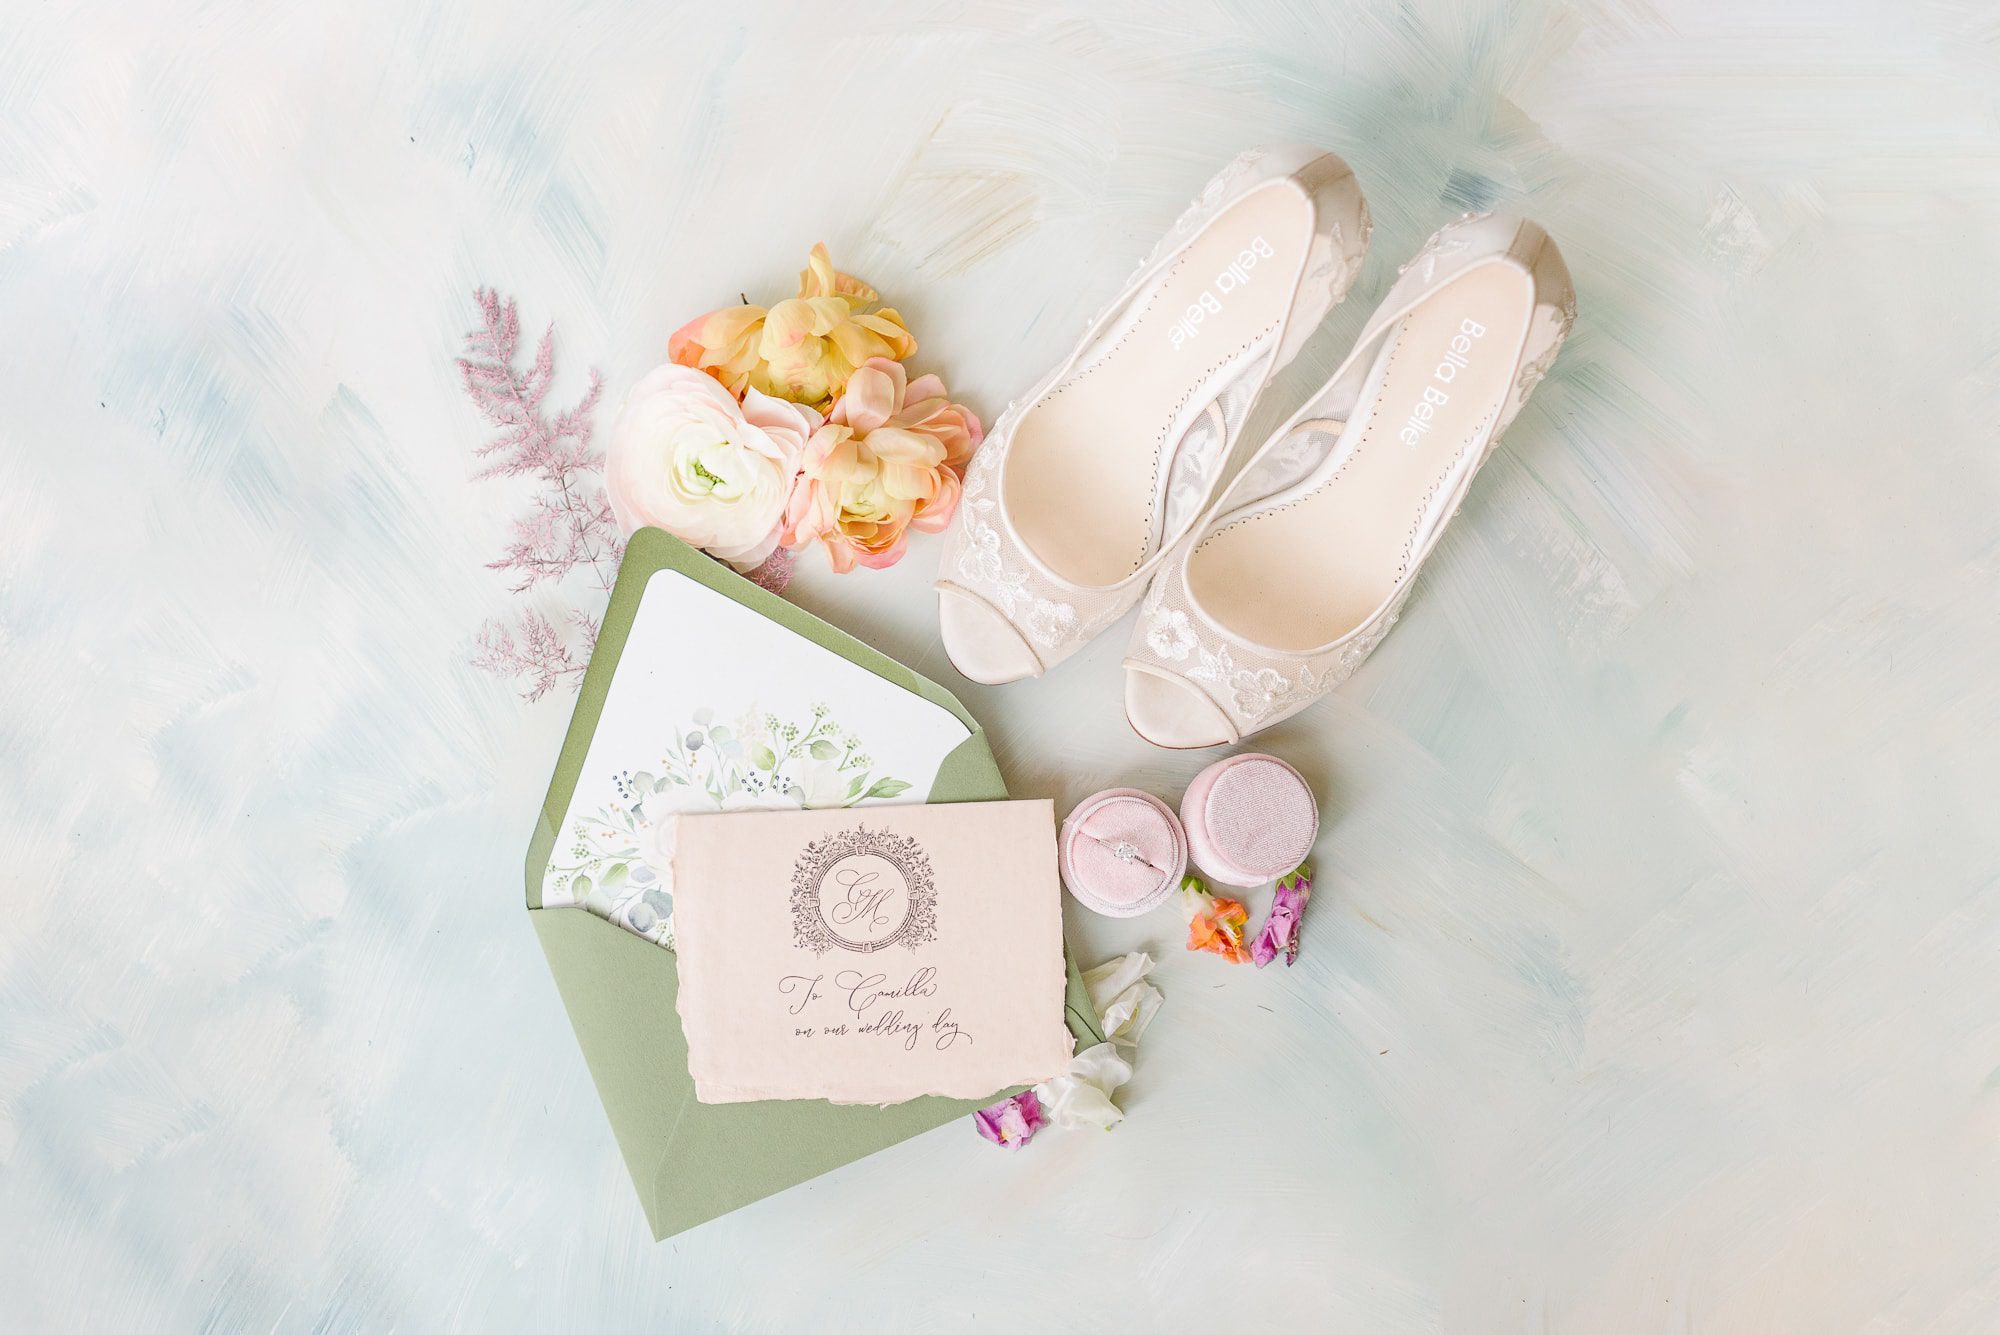
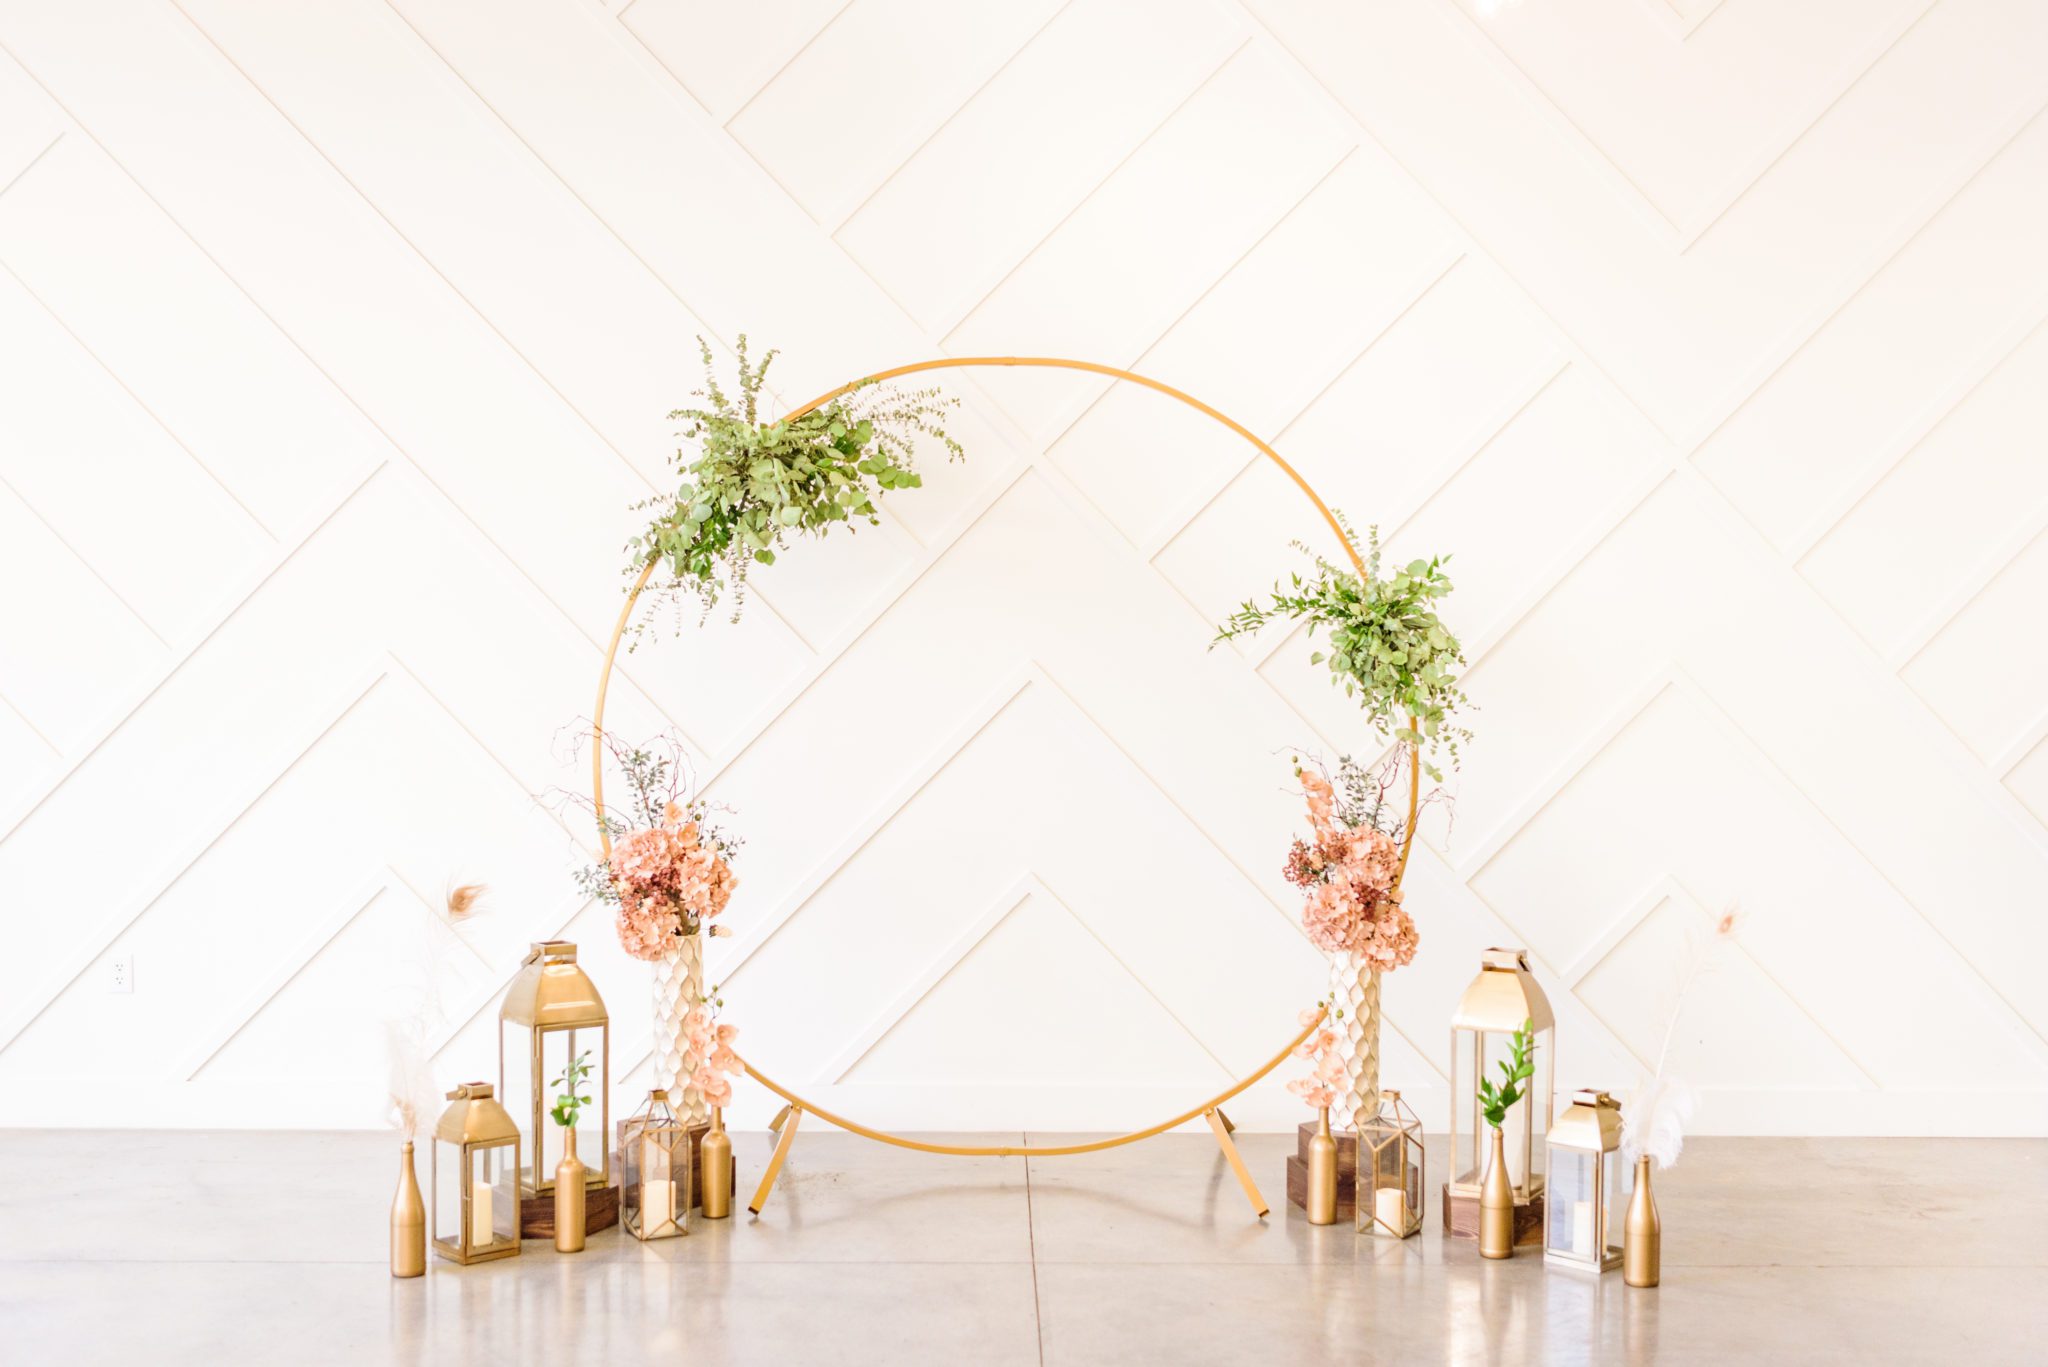
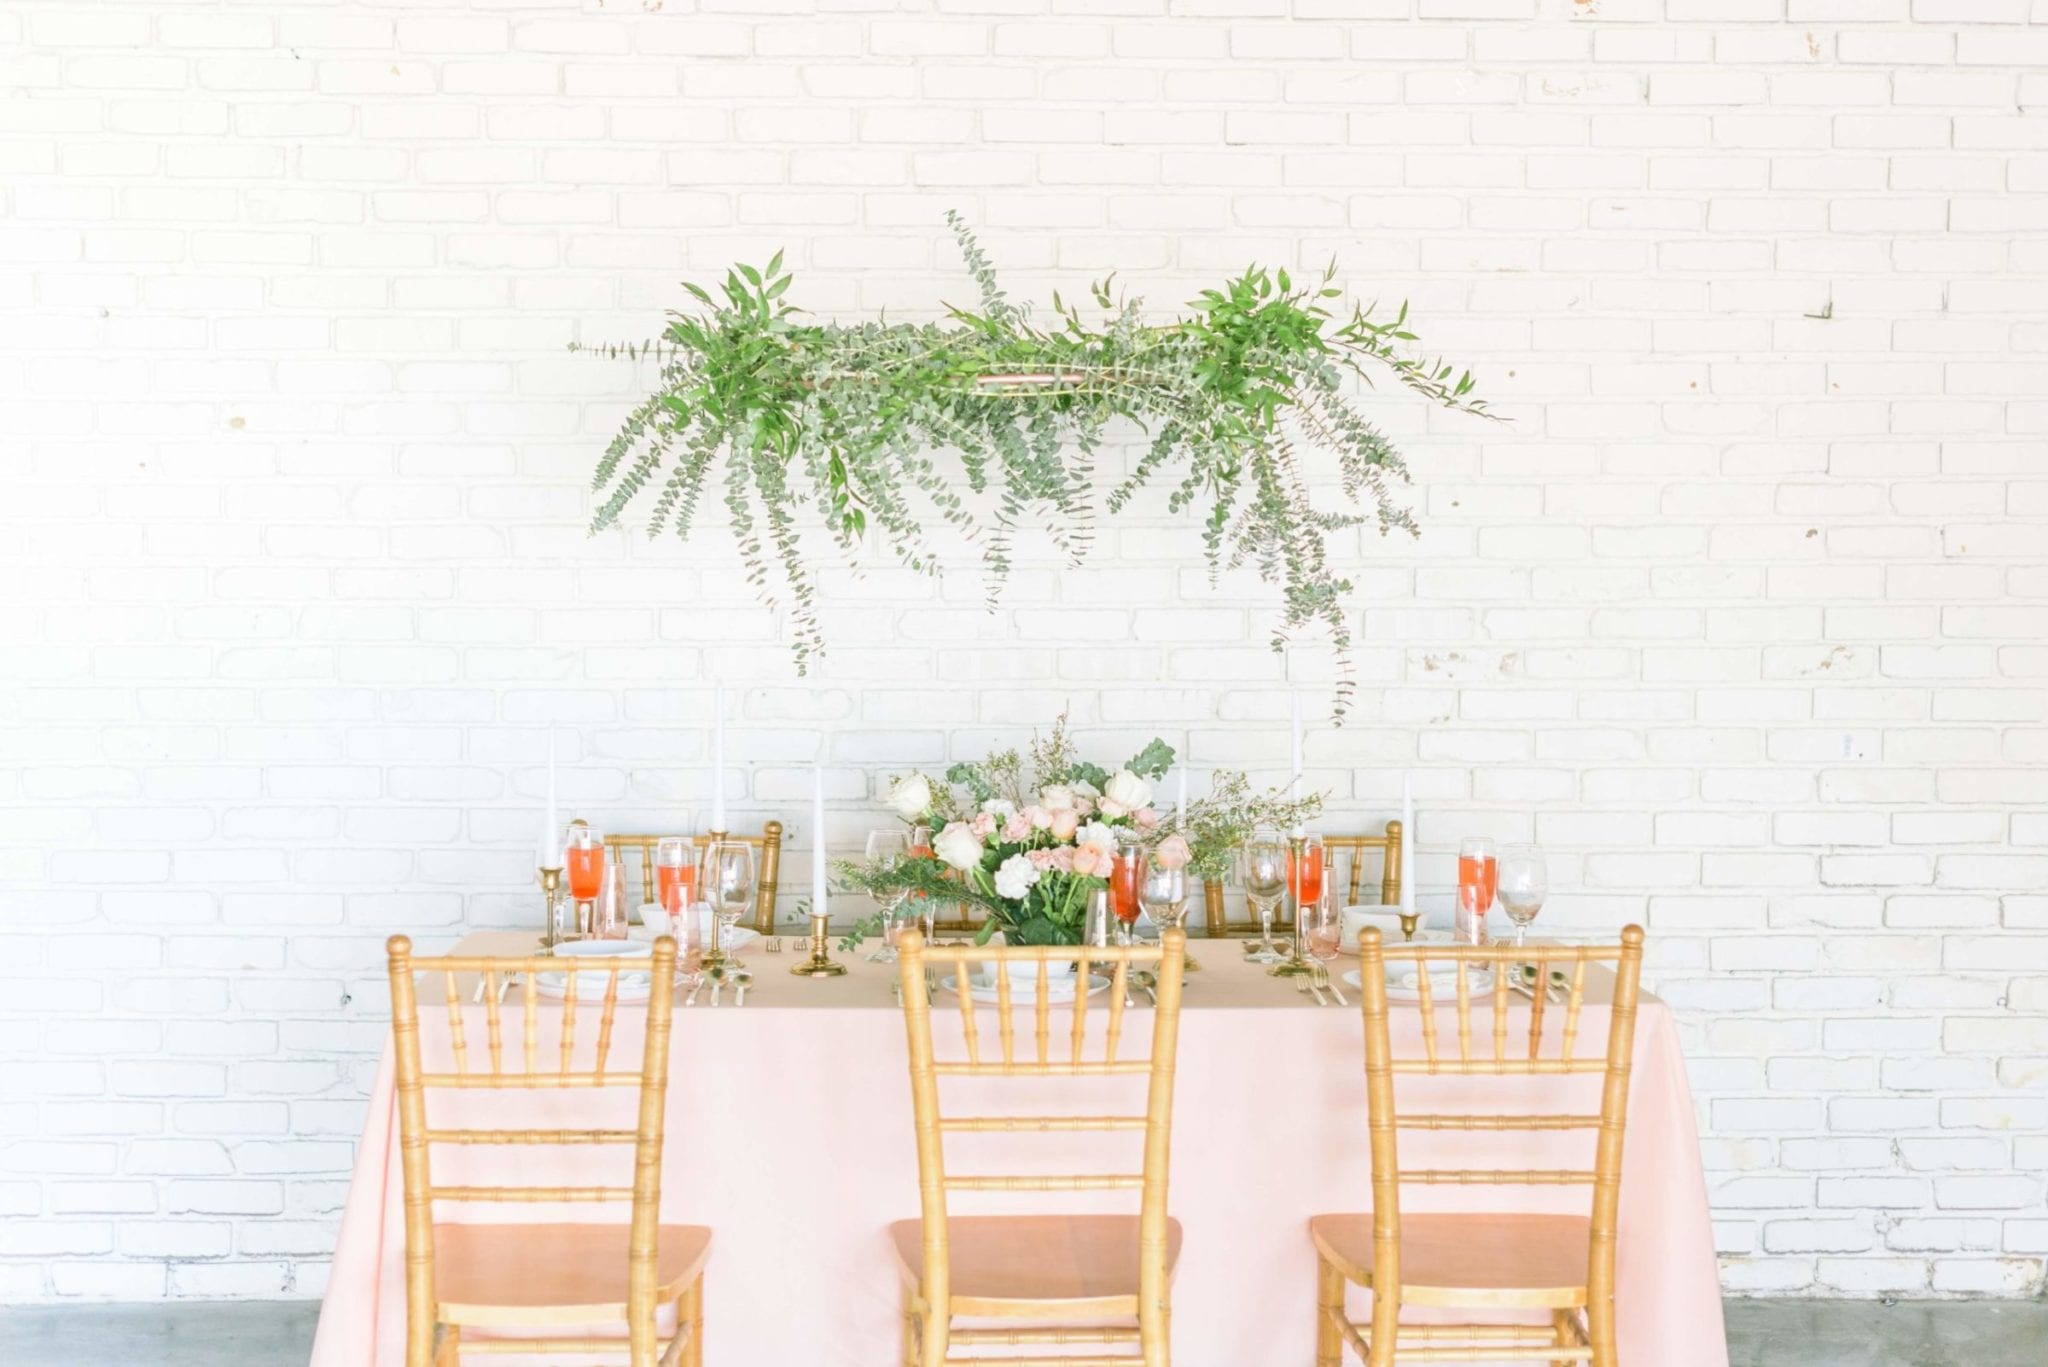
2:00 – 3:00 Detail Photos at the Venue
This is a great opportunity for you to get shots of all the tiny, beautiful details that tell the story of your wedding day.
To make this go as smoothly as possible, make sure you pack a few items in an easy to grab bag the day before. This bag of details is typically the first thing I ask for when I arrive. This bag should have:
- Your shoes
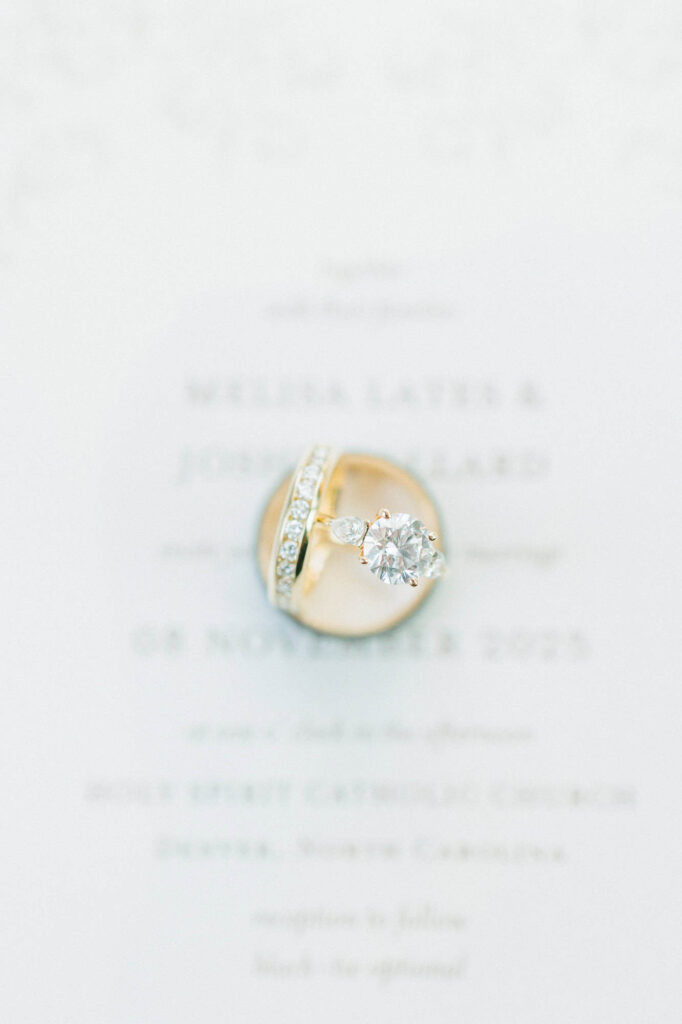
- A fresh set of wedding invitations
- Any jewelry you’ll be wearing (including both of your wedding rings)
- Decorative hairpieces or veil
- Any extra flowers or greenery your florist is willing to part with
- Any special heirloom pieces that might be important to you (perfume, grandmother’s ring, handkerchief etc.)
- An open-top ring box, ribbon, and other decorative items
- If you’d like to see more info on what details to have ready, check out my details guide!
Minimum Time Needed: 30 minutes to an hour
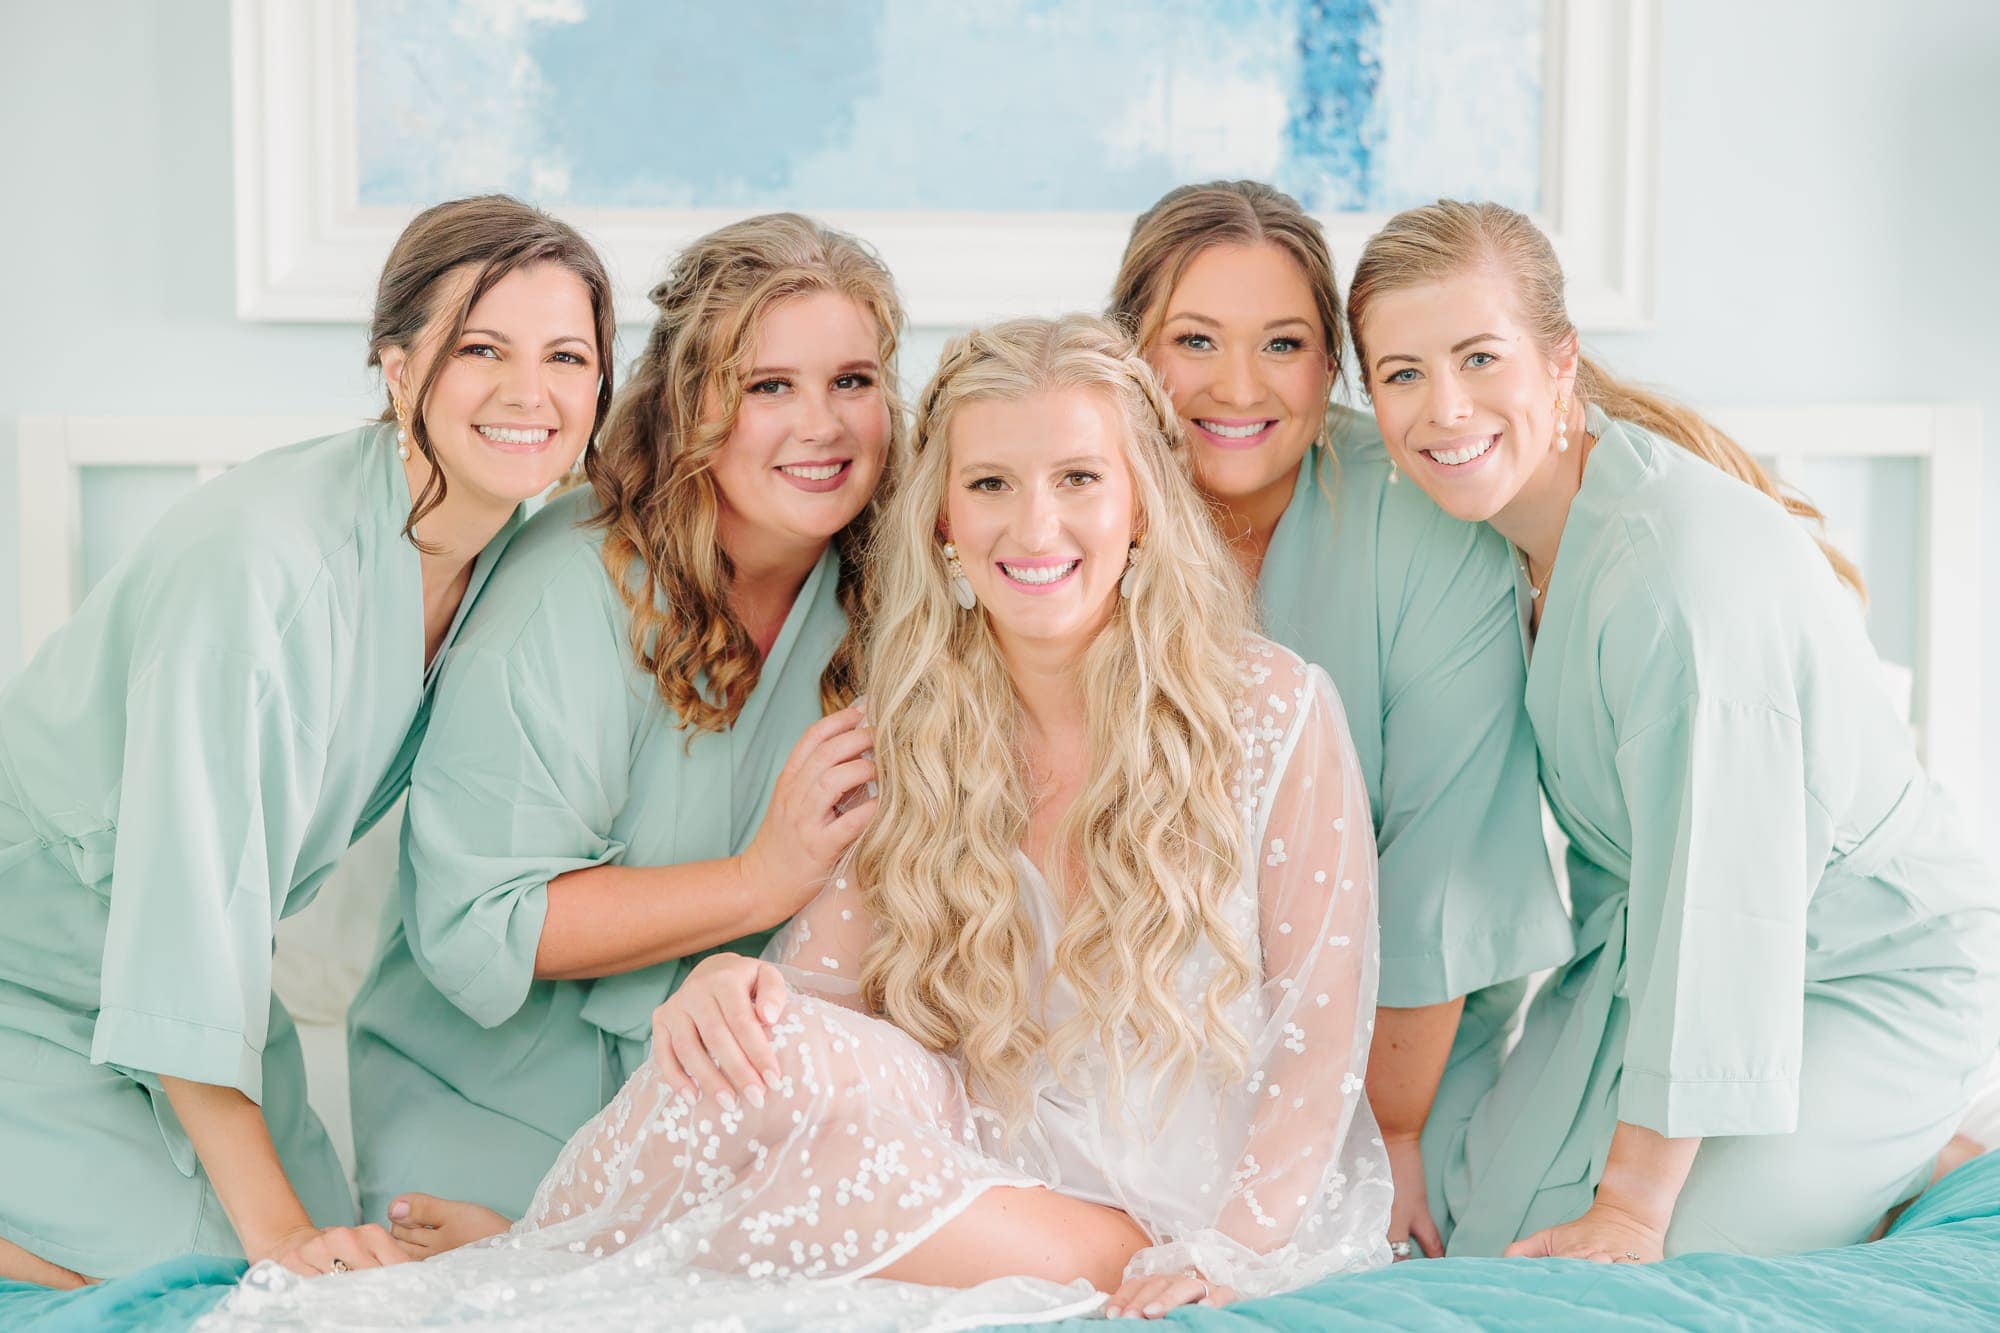
3:00- 3:15 Pajama Photos with the Girls
Make sure everyone (including you!) is fully ready with hair and makeup for any matching PJ shots.
Minimum Time Needed: 15 minutes
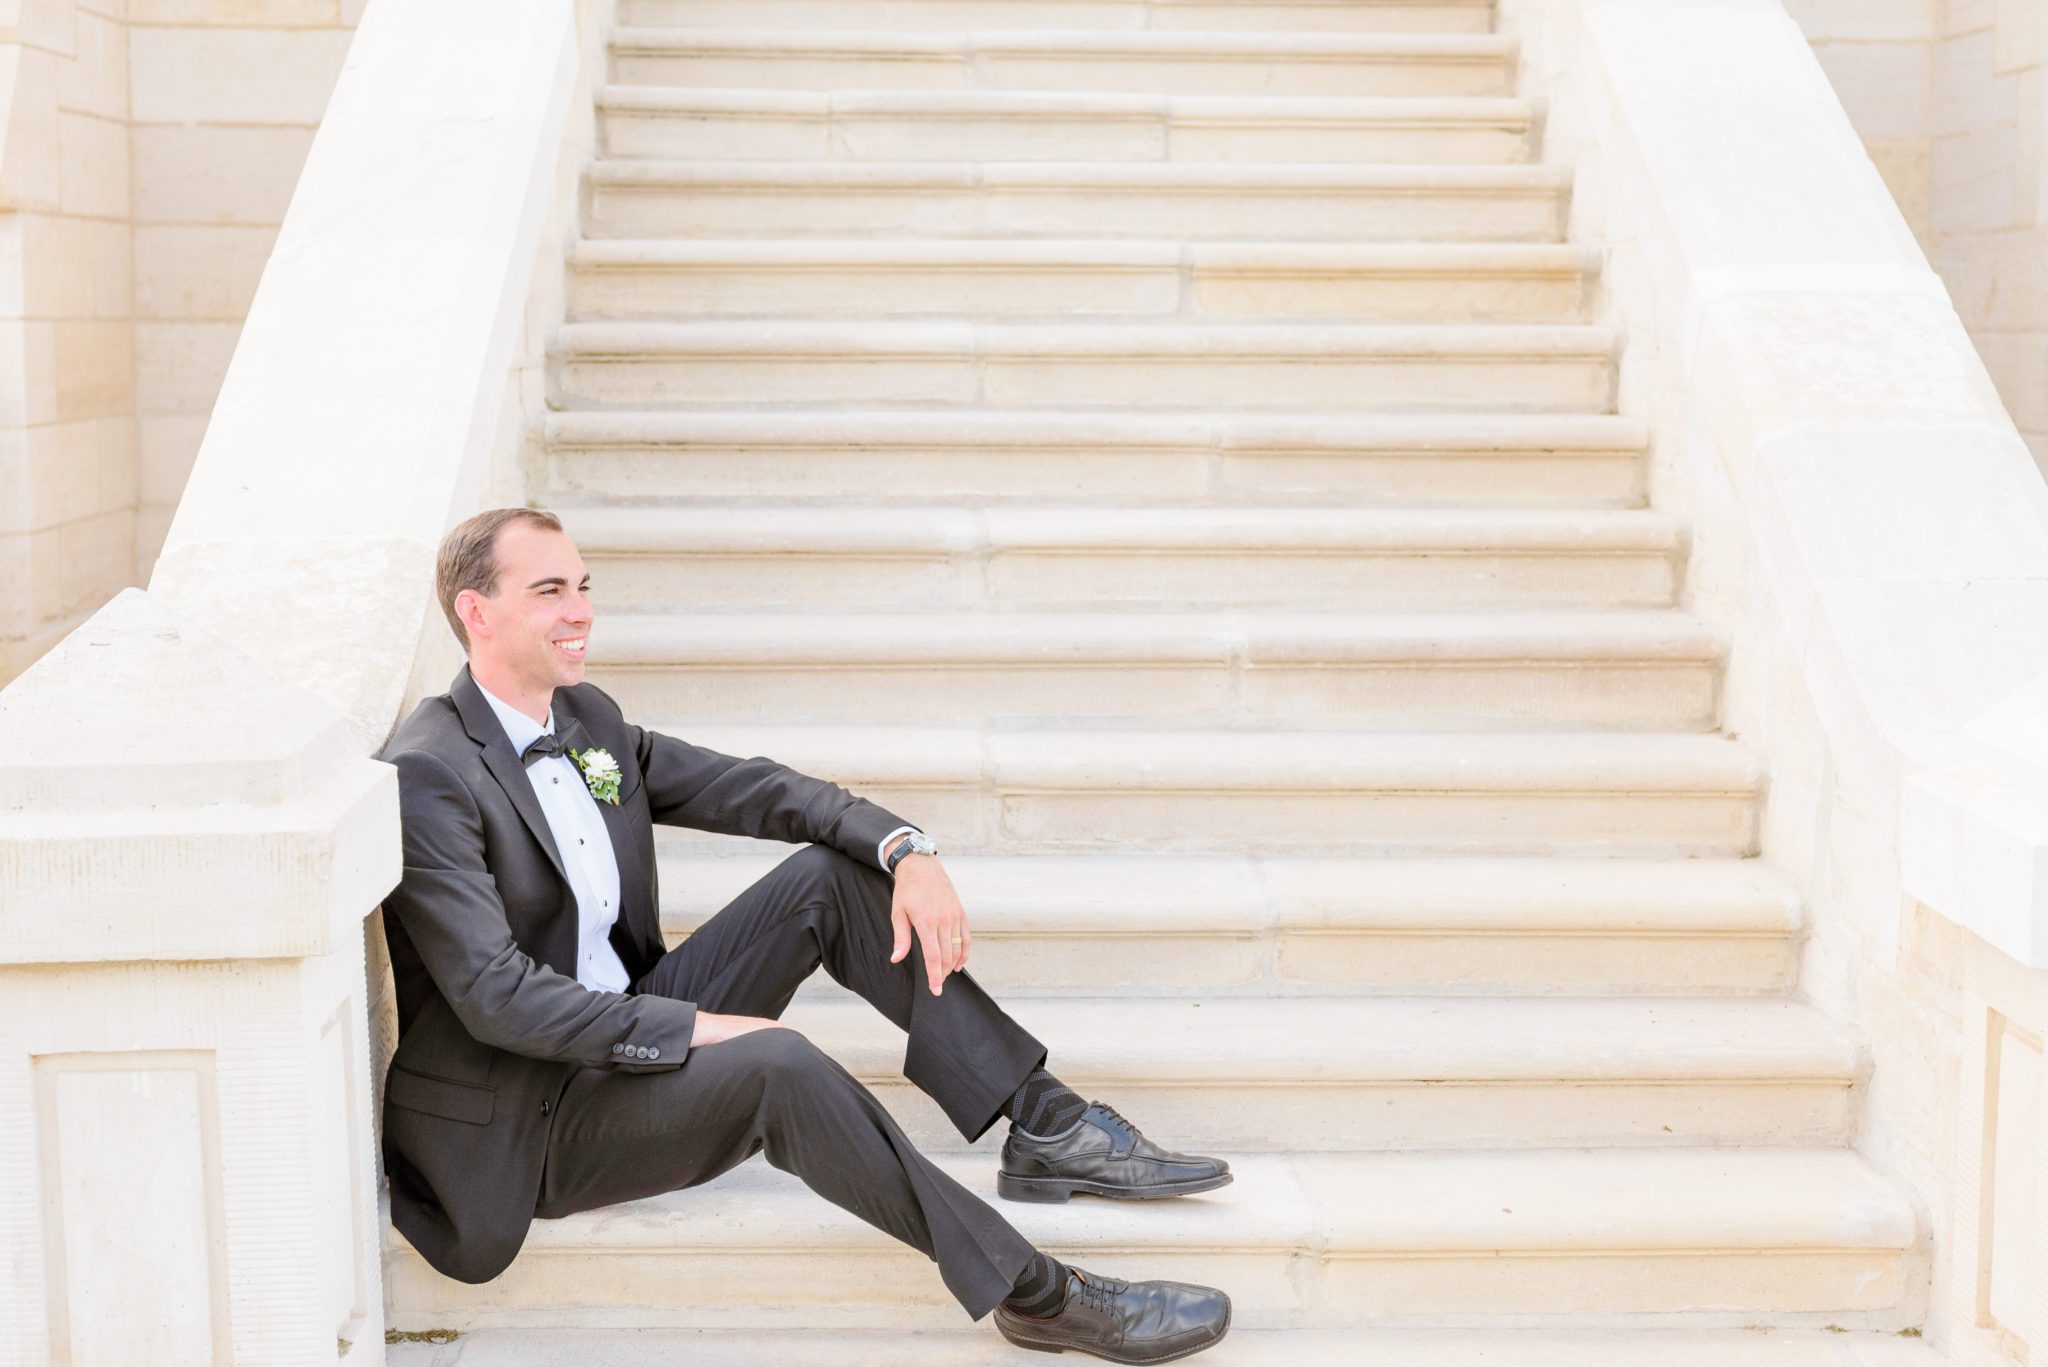
3:15 – 3:30 Groom Photos
Minimum Time Needed: 15 minutes
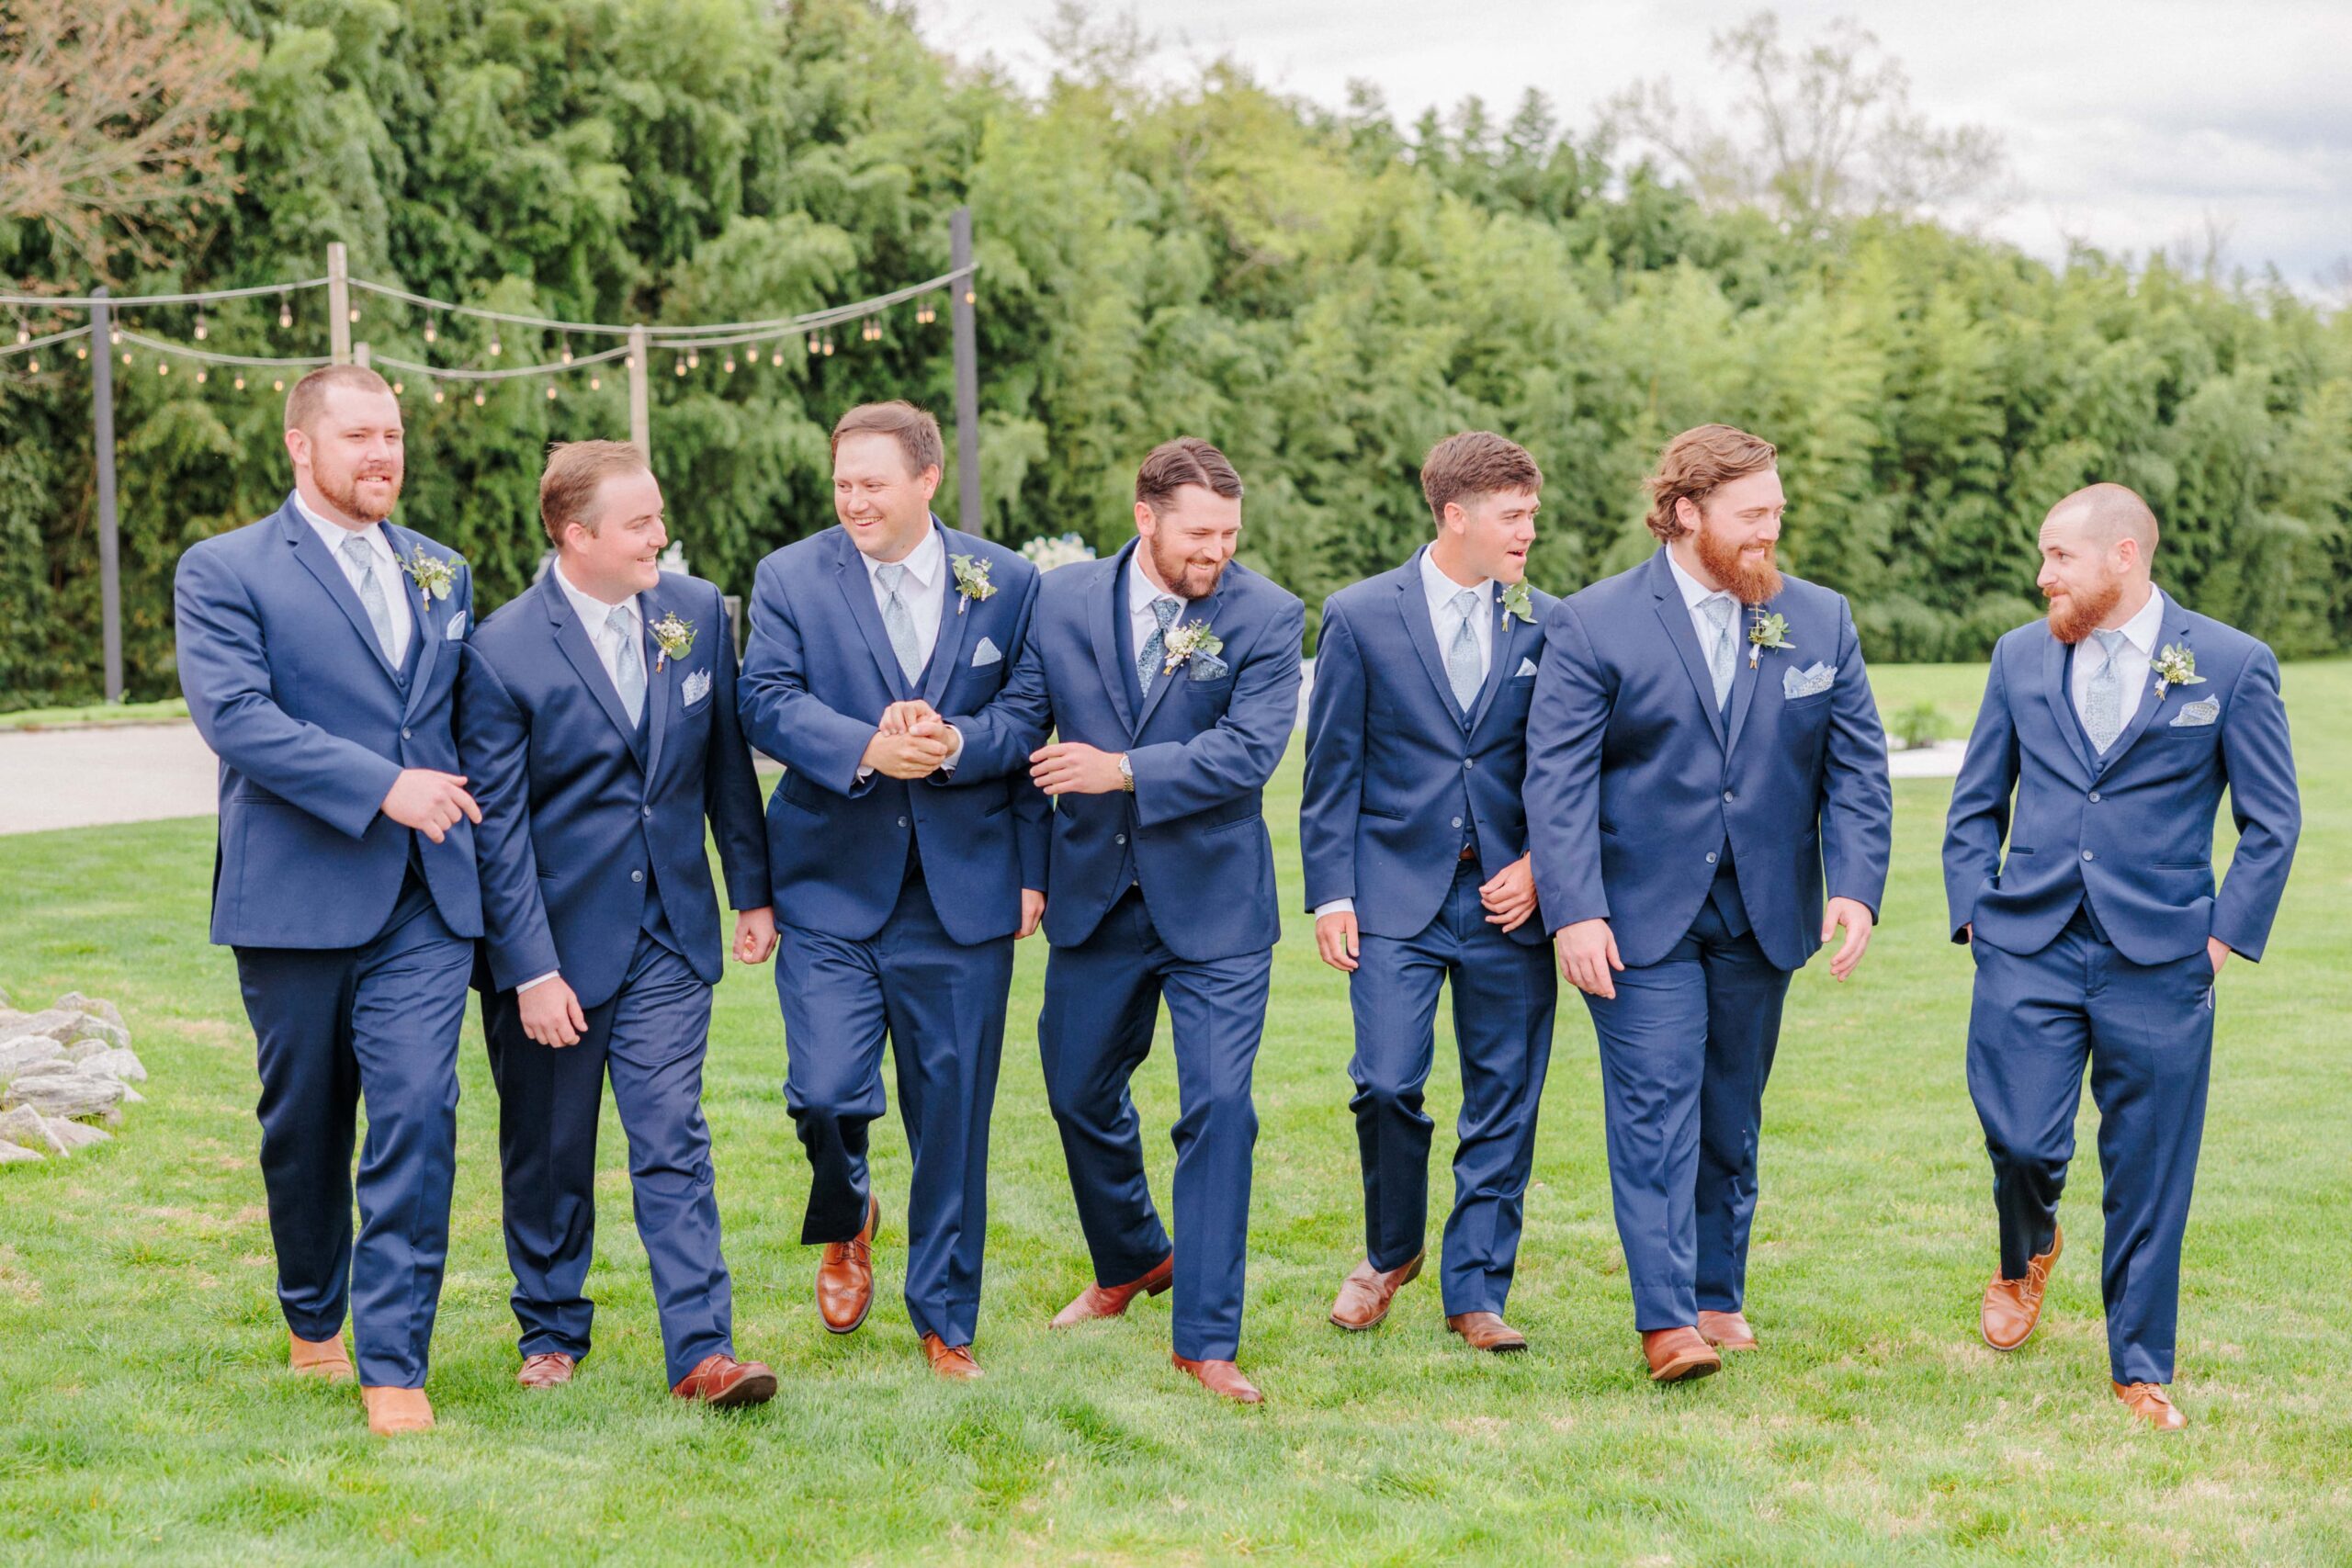
3:30 – 3:45 Groomsmen with Groom
Make sure everyone (including you!) is fully ready with boutonnières already pinned on.
Minimum Time Needed: 15-20 minutes
Add More Time Here If: You and your fiancee will be in two separate locations.
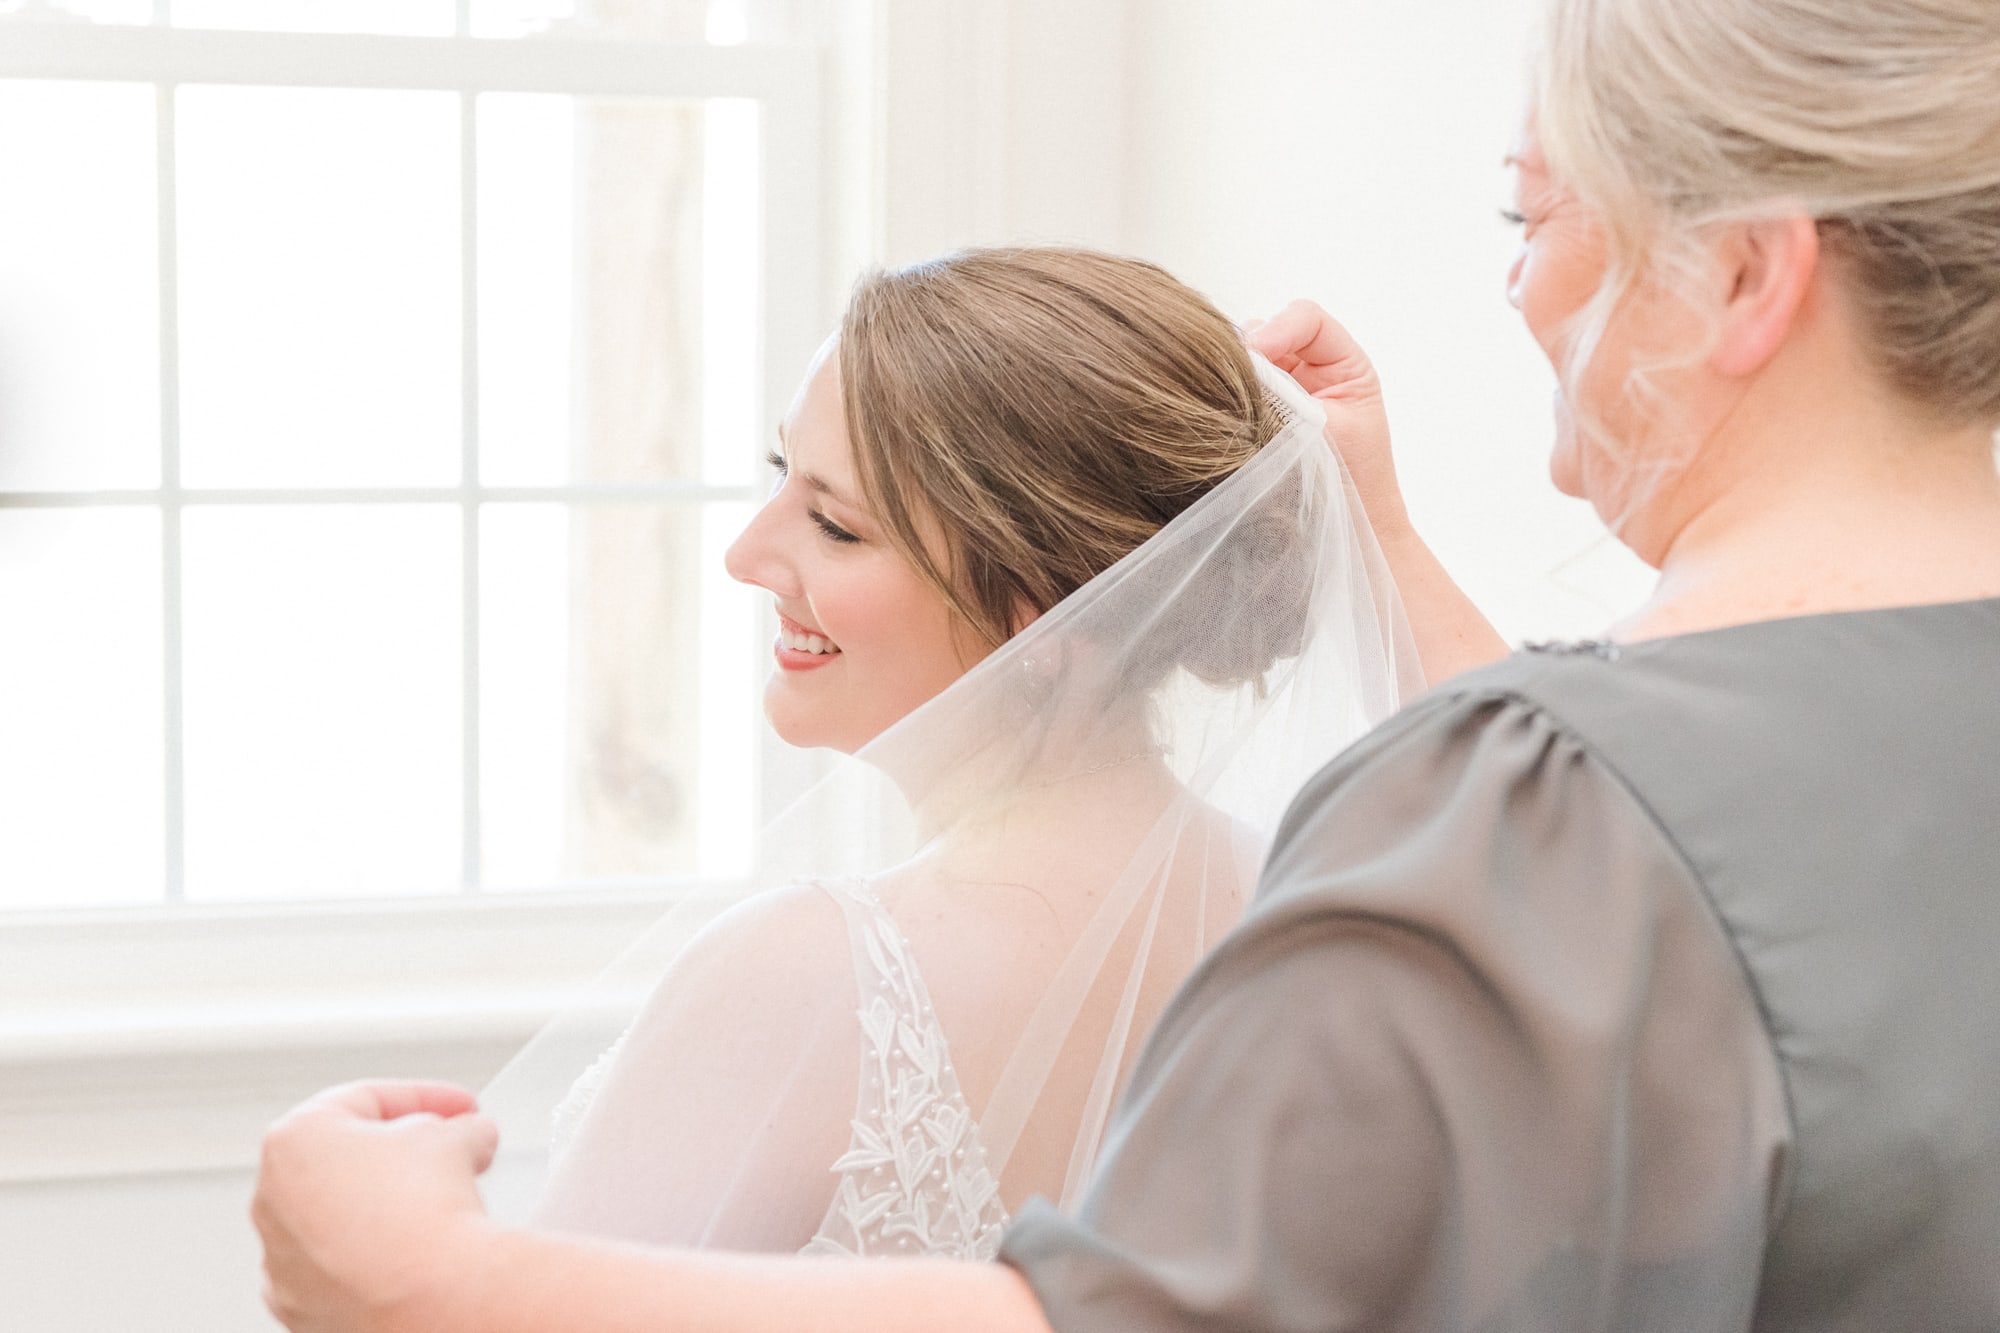
3:45 – 4:00 Bride Photos
Getting ready photos usually happen at your venue, in the bride’s room. They show just the finishing touches of your hair and makeup, and then your family or bridesmaids helping you into your dress.
Minimum Time Needed: 15 – 30 minutes
Add More Time Here If: You are getting ready somewhere other than your ceremony venue, or if you are wanting bridal photos taken after you get dressed.
4:00 – 4:15 Bridesmaids with Bride
Minimum Time Needed: 15 – 30 minutes
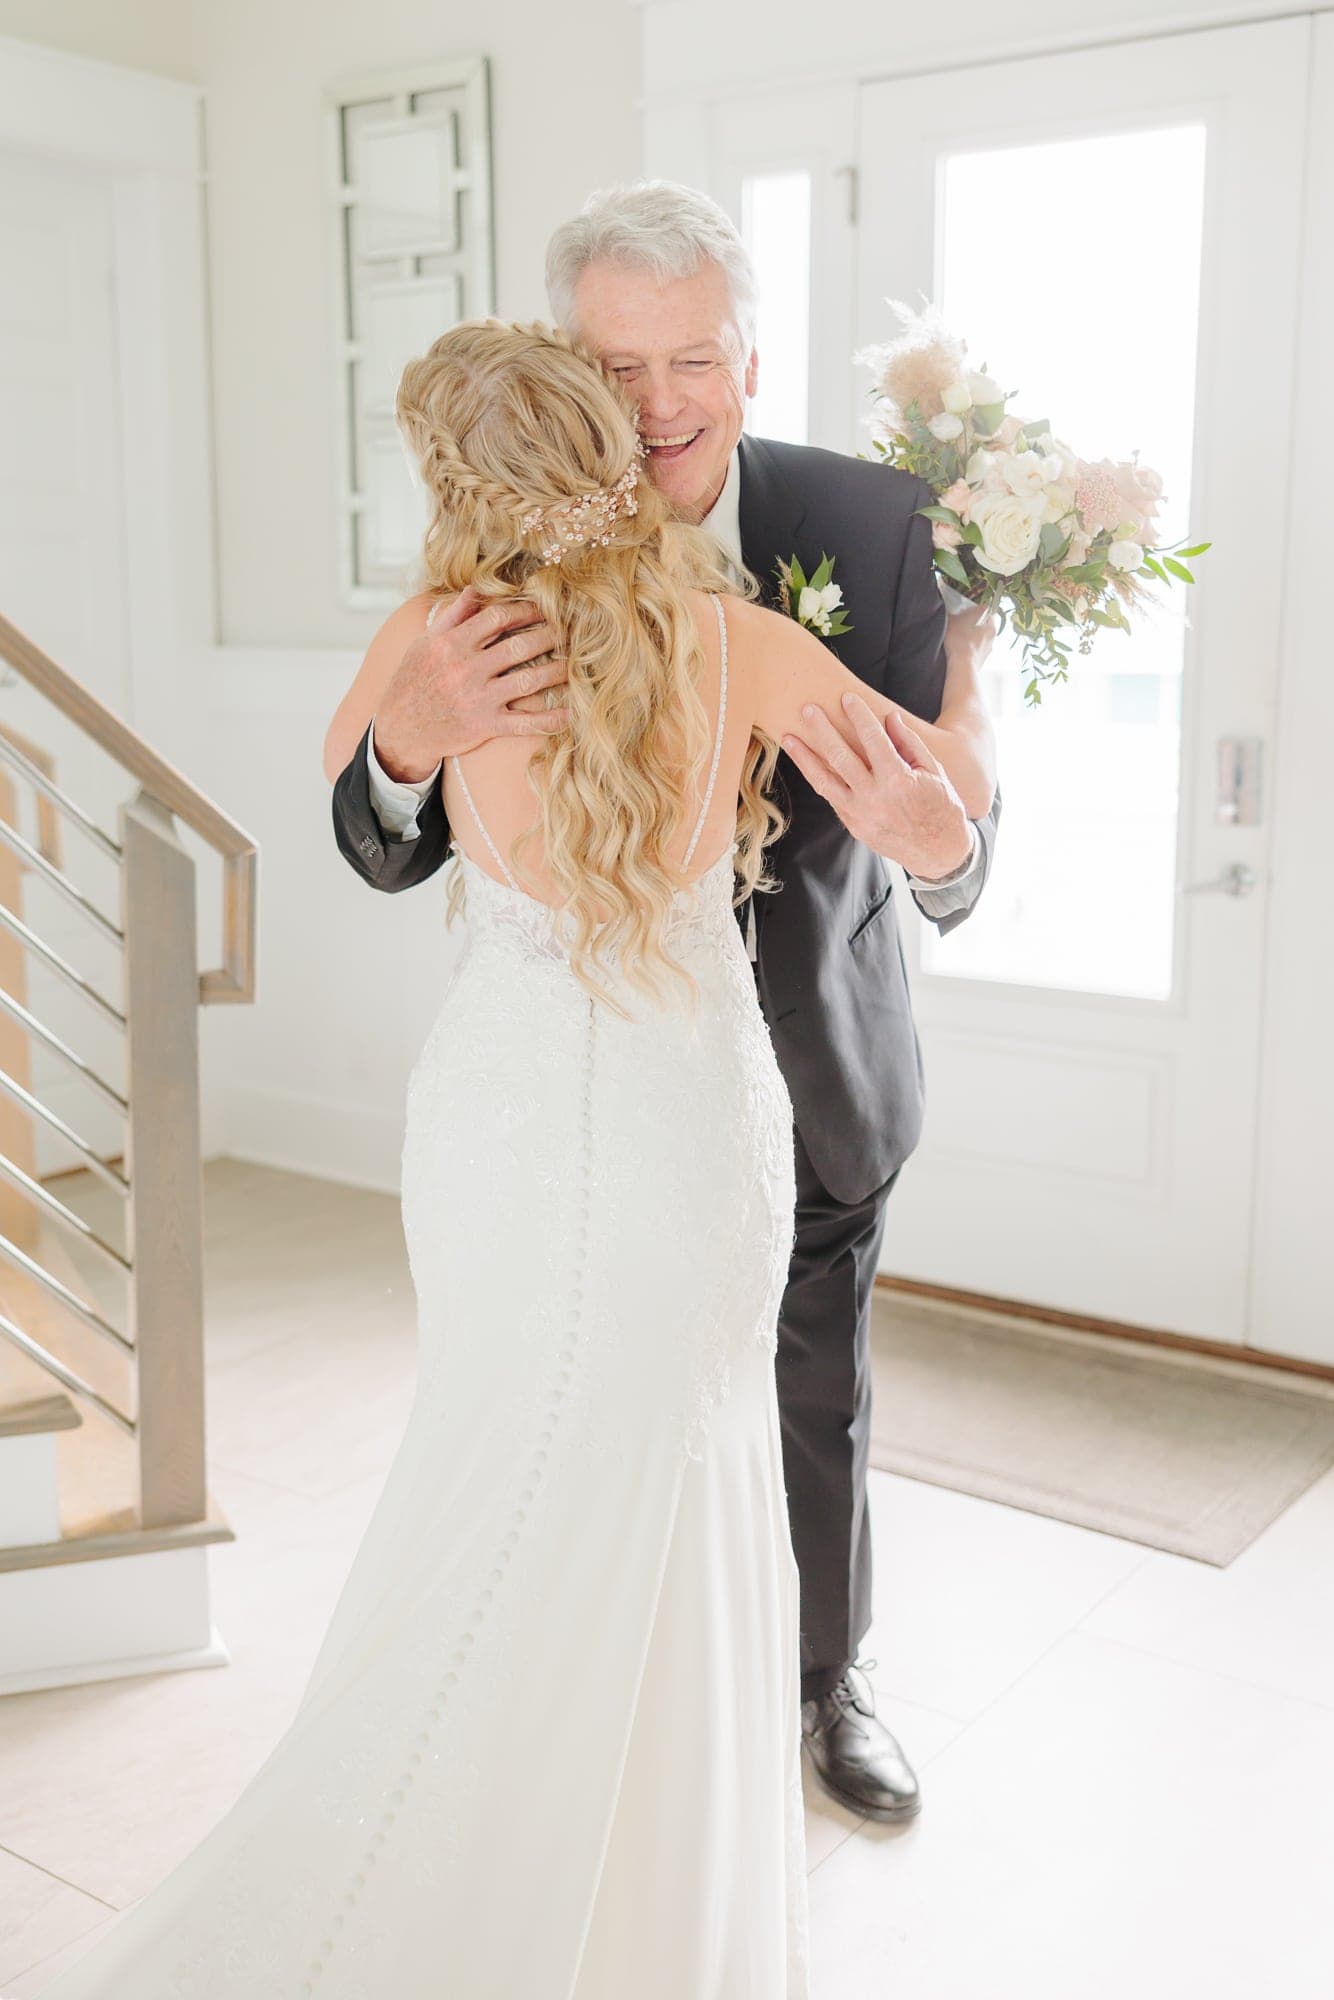
4:15 – 4:30 First Look with Family
Minimum Time Needed: 15 minutes
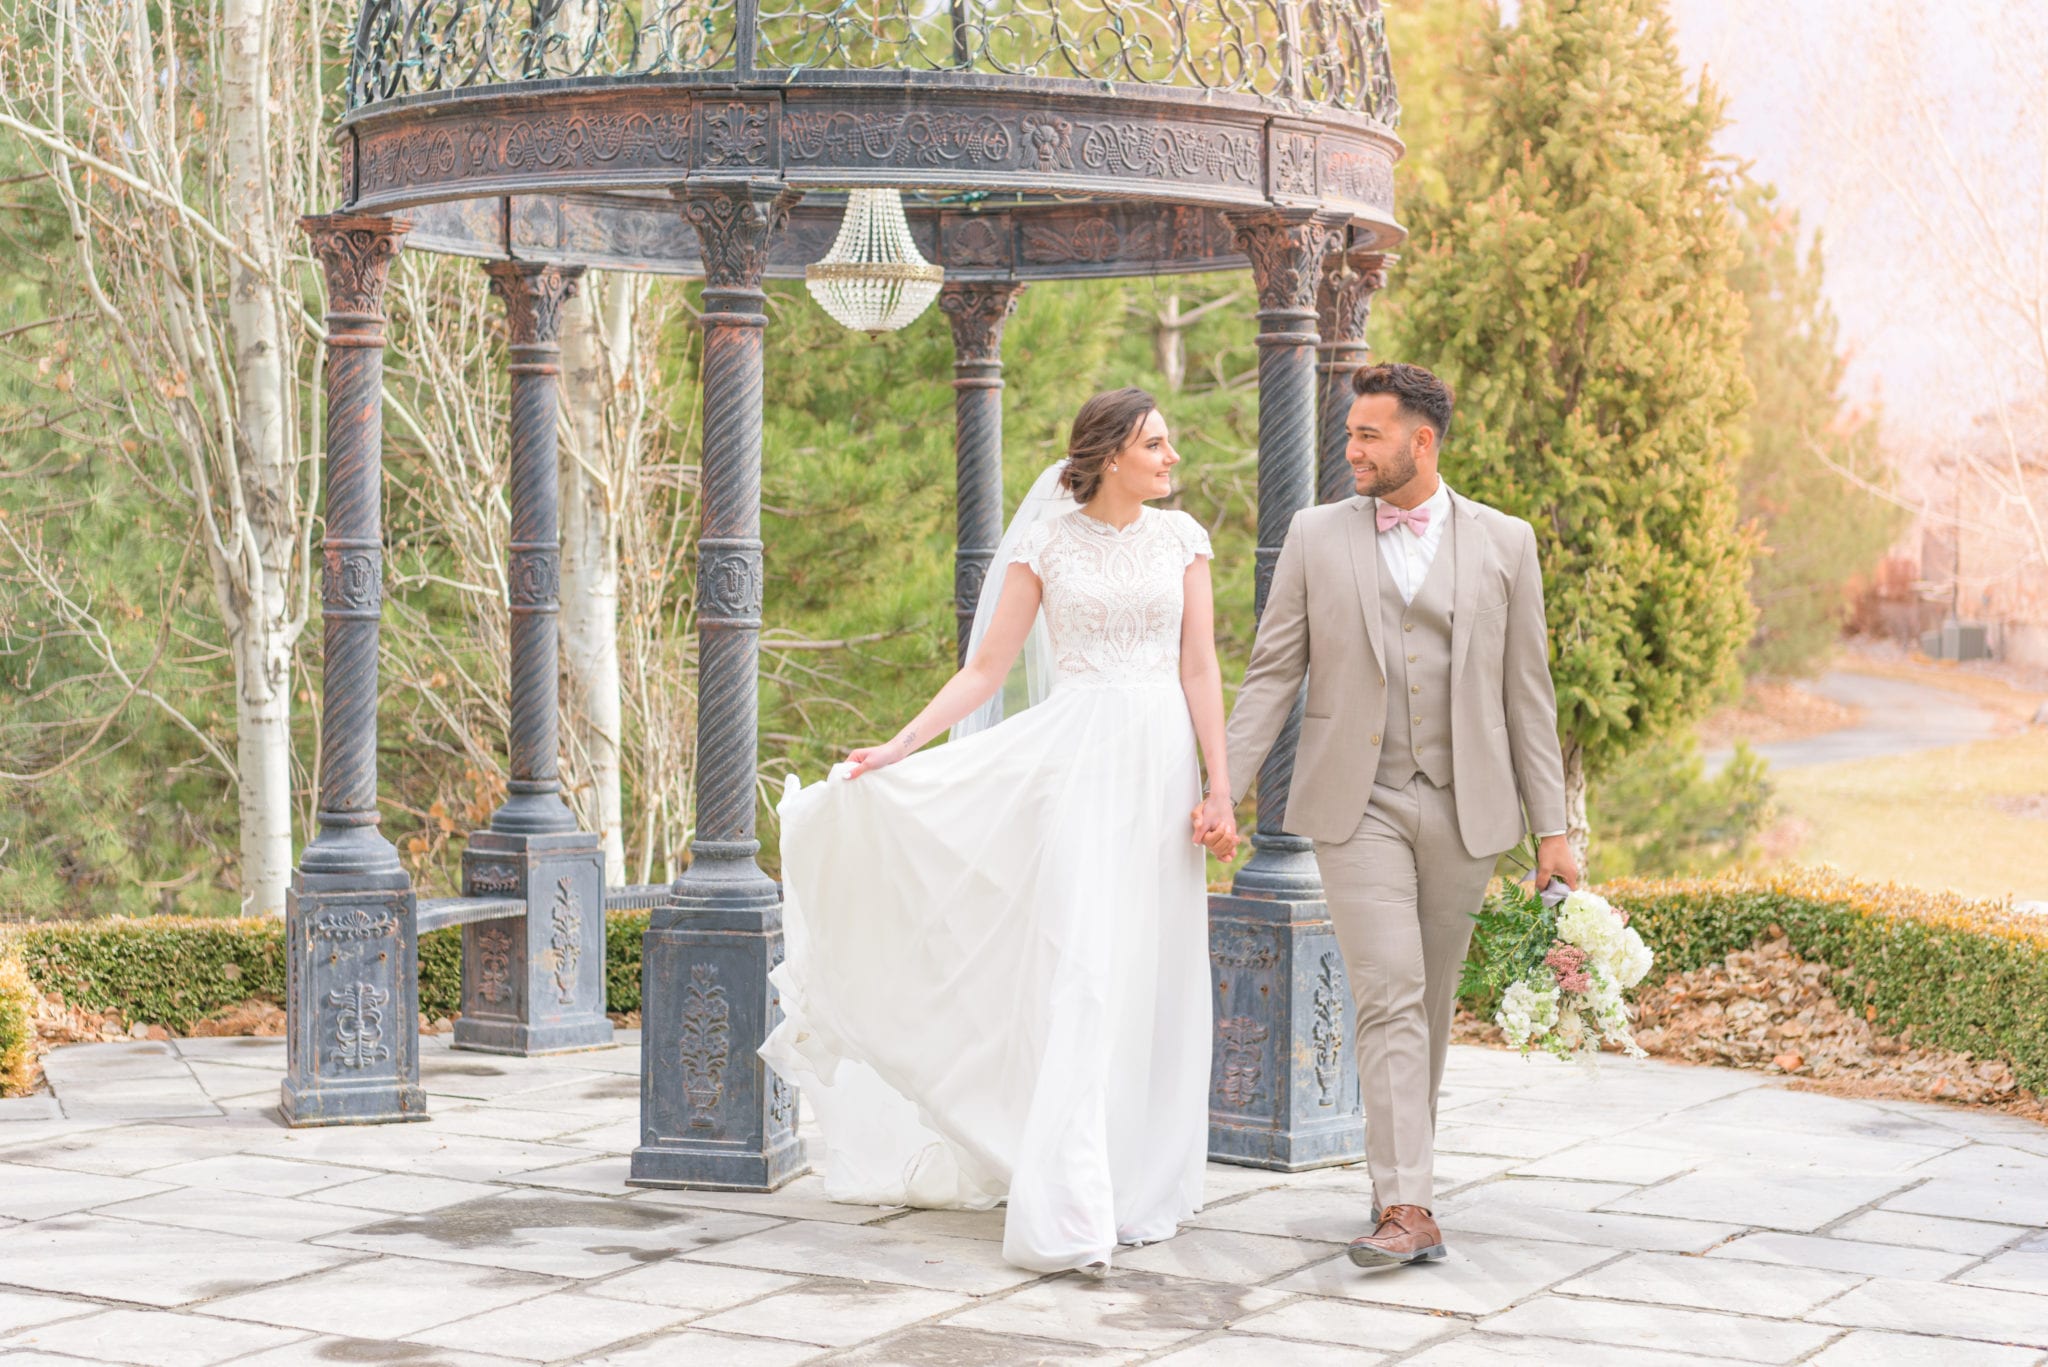
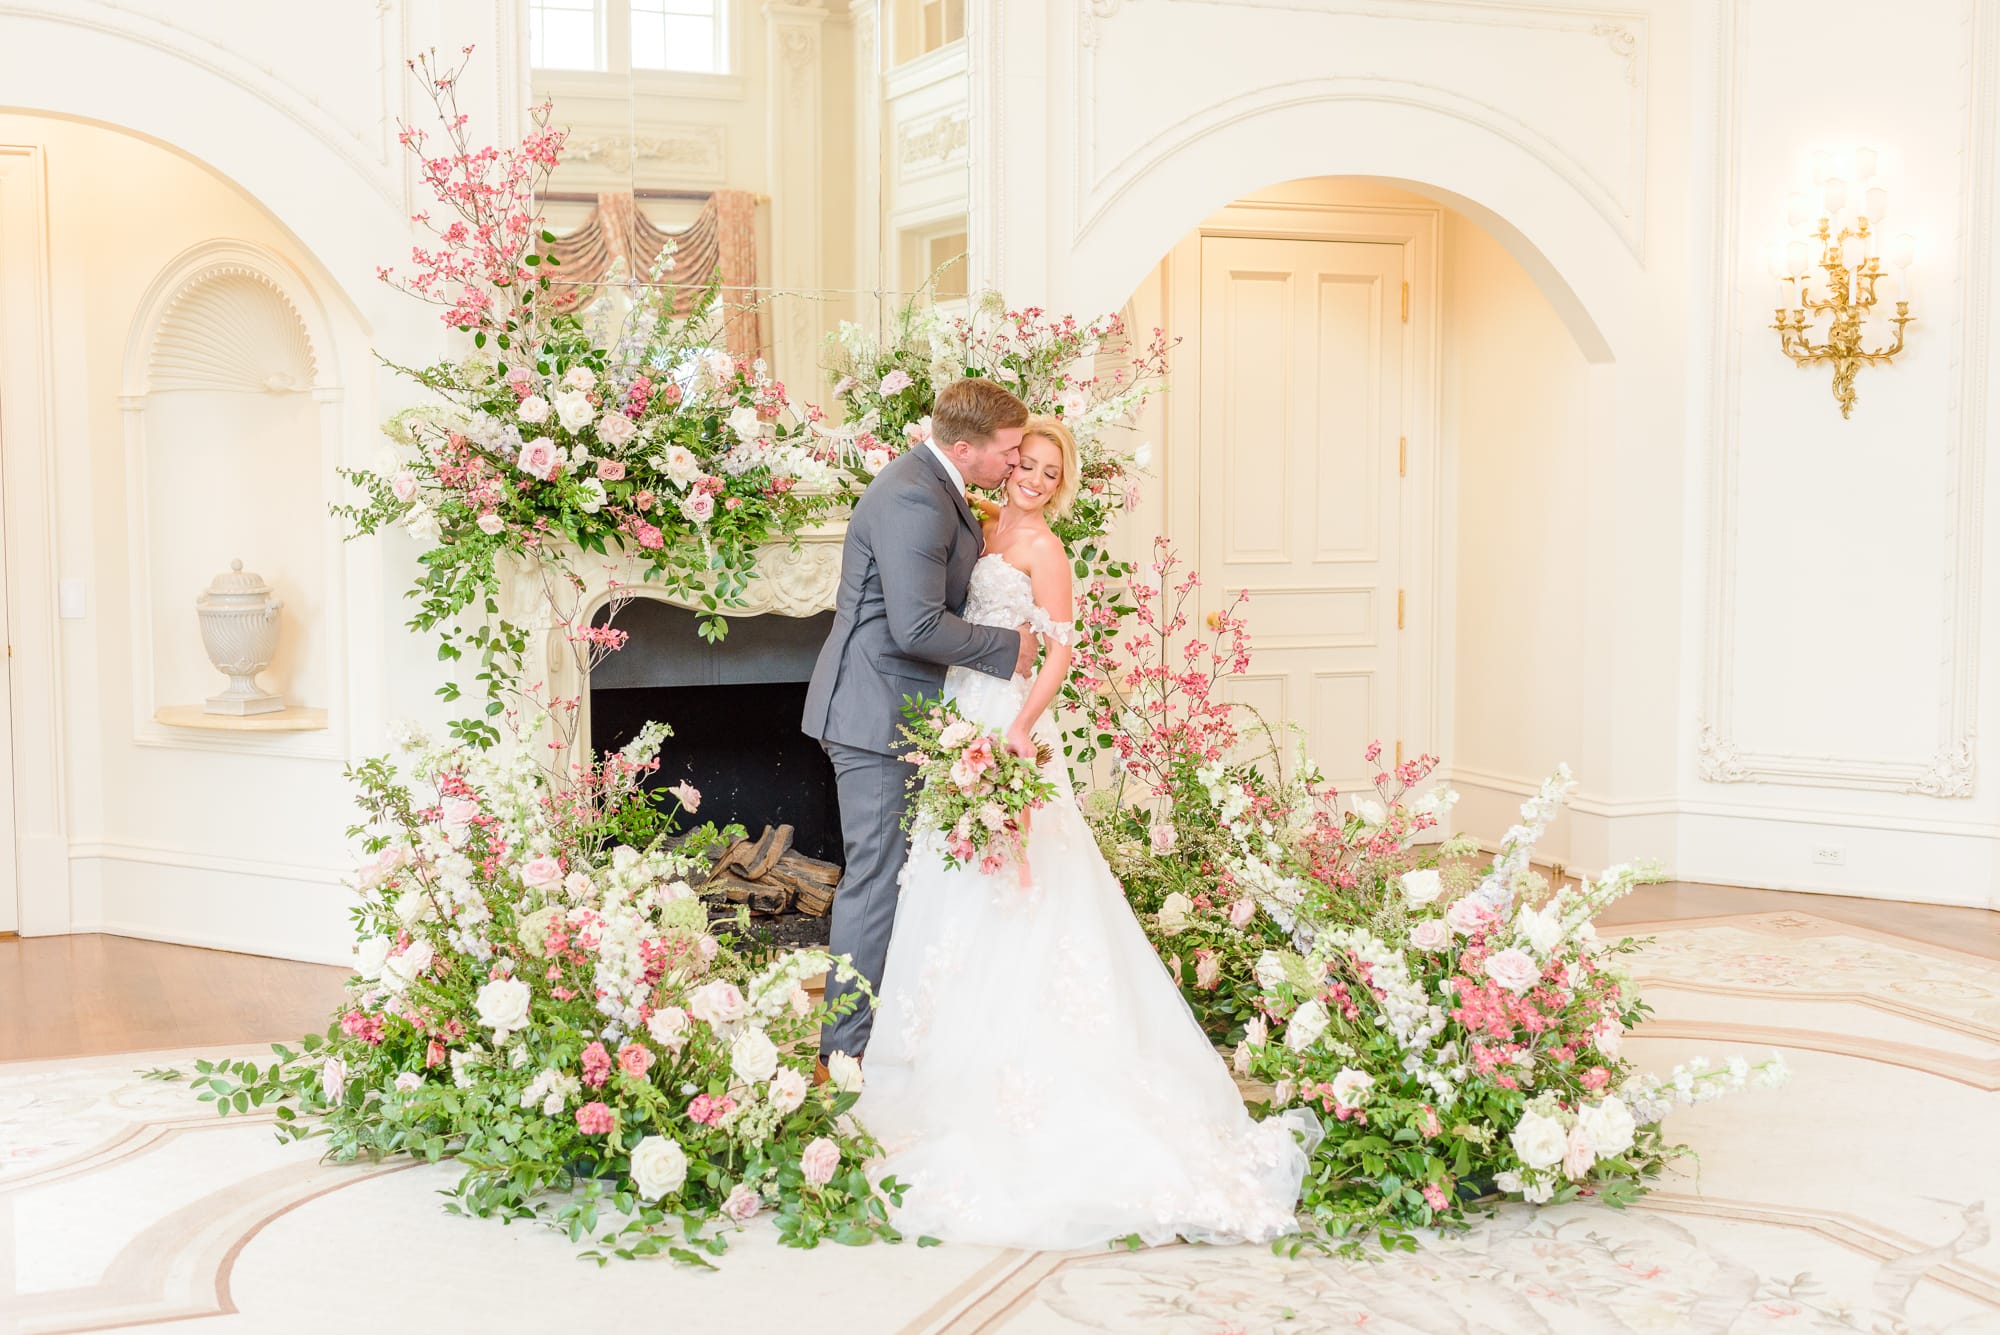
4:30 – 5:00 First Look
If you are open to the idea, I think it’s a great idea to have a first look. It doubles the amount of frame-a-licious posed photos and calms the nerves.
This will be one of the only times you two will get to be alone together on your wedding day. It can be a very special moment you get to share together. It’s also when we’ll be able to really take some good photos without family members and guests needing your attention.
Minimum Time Needed: 30 minutes
Add More Time Here If: You want more photos of the two of you together, or you want more alone time together on your wedding day.

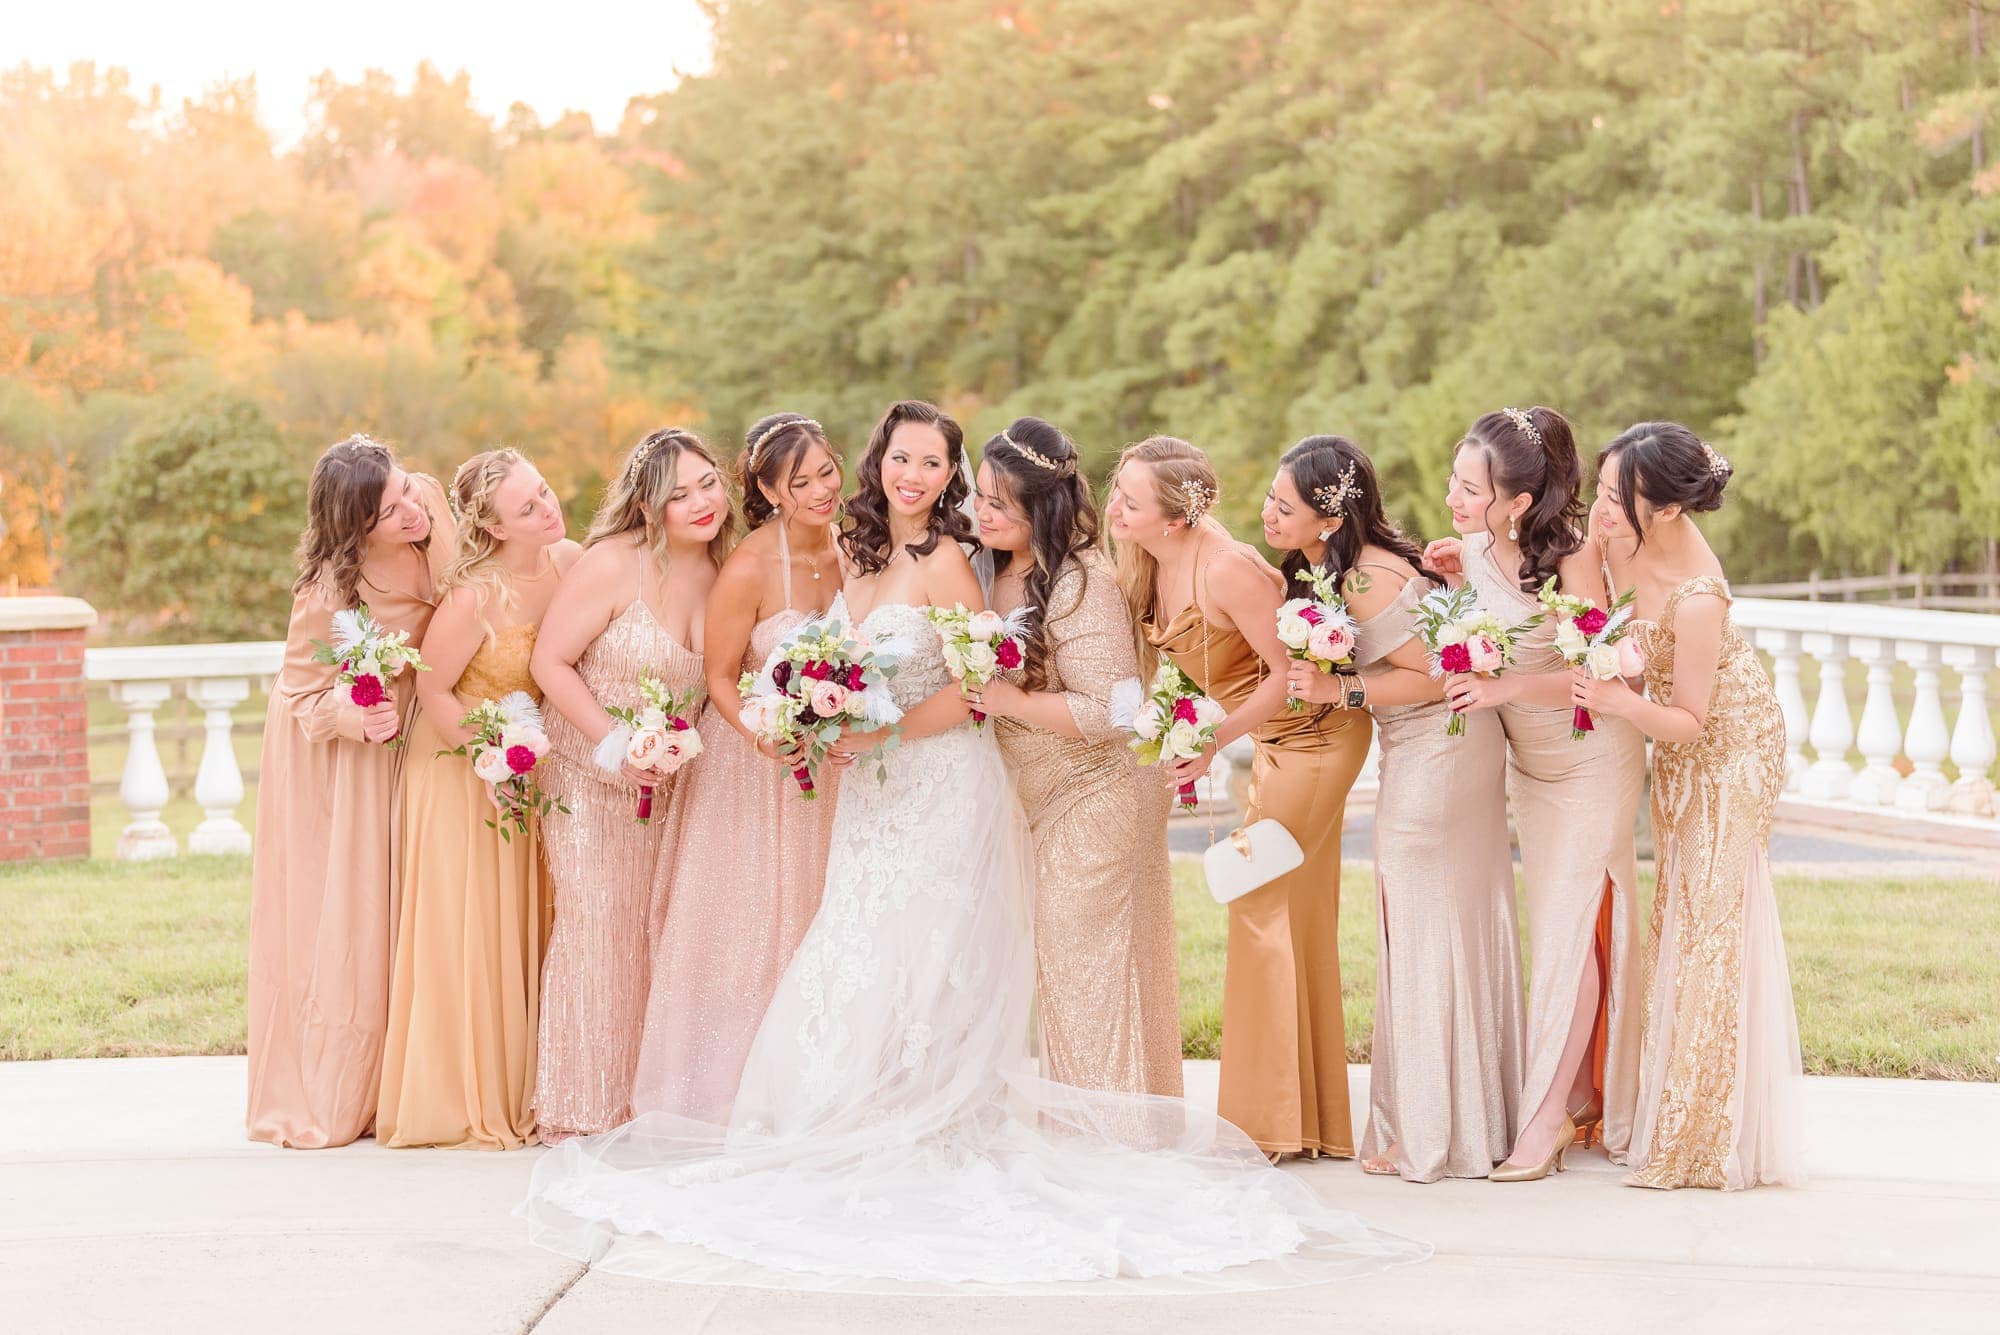
5:00 – 5:15 Bridal Party Photos Together
Minimum Time Needed: 15 – 30 minutes
Add More Time Here If: You have a large bridal party (more than 8 people), or you have small children in your bridal party.
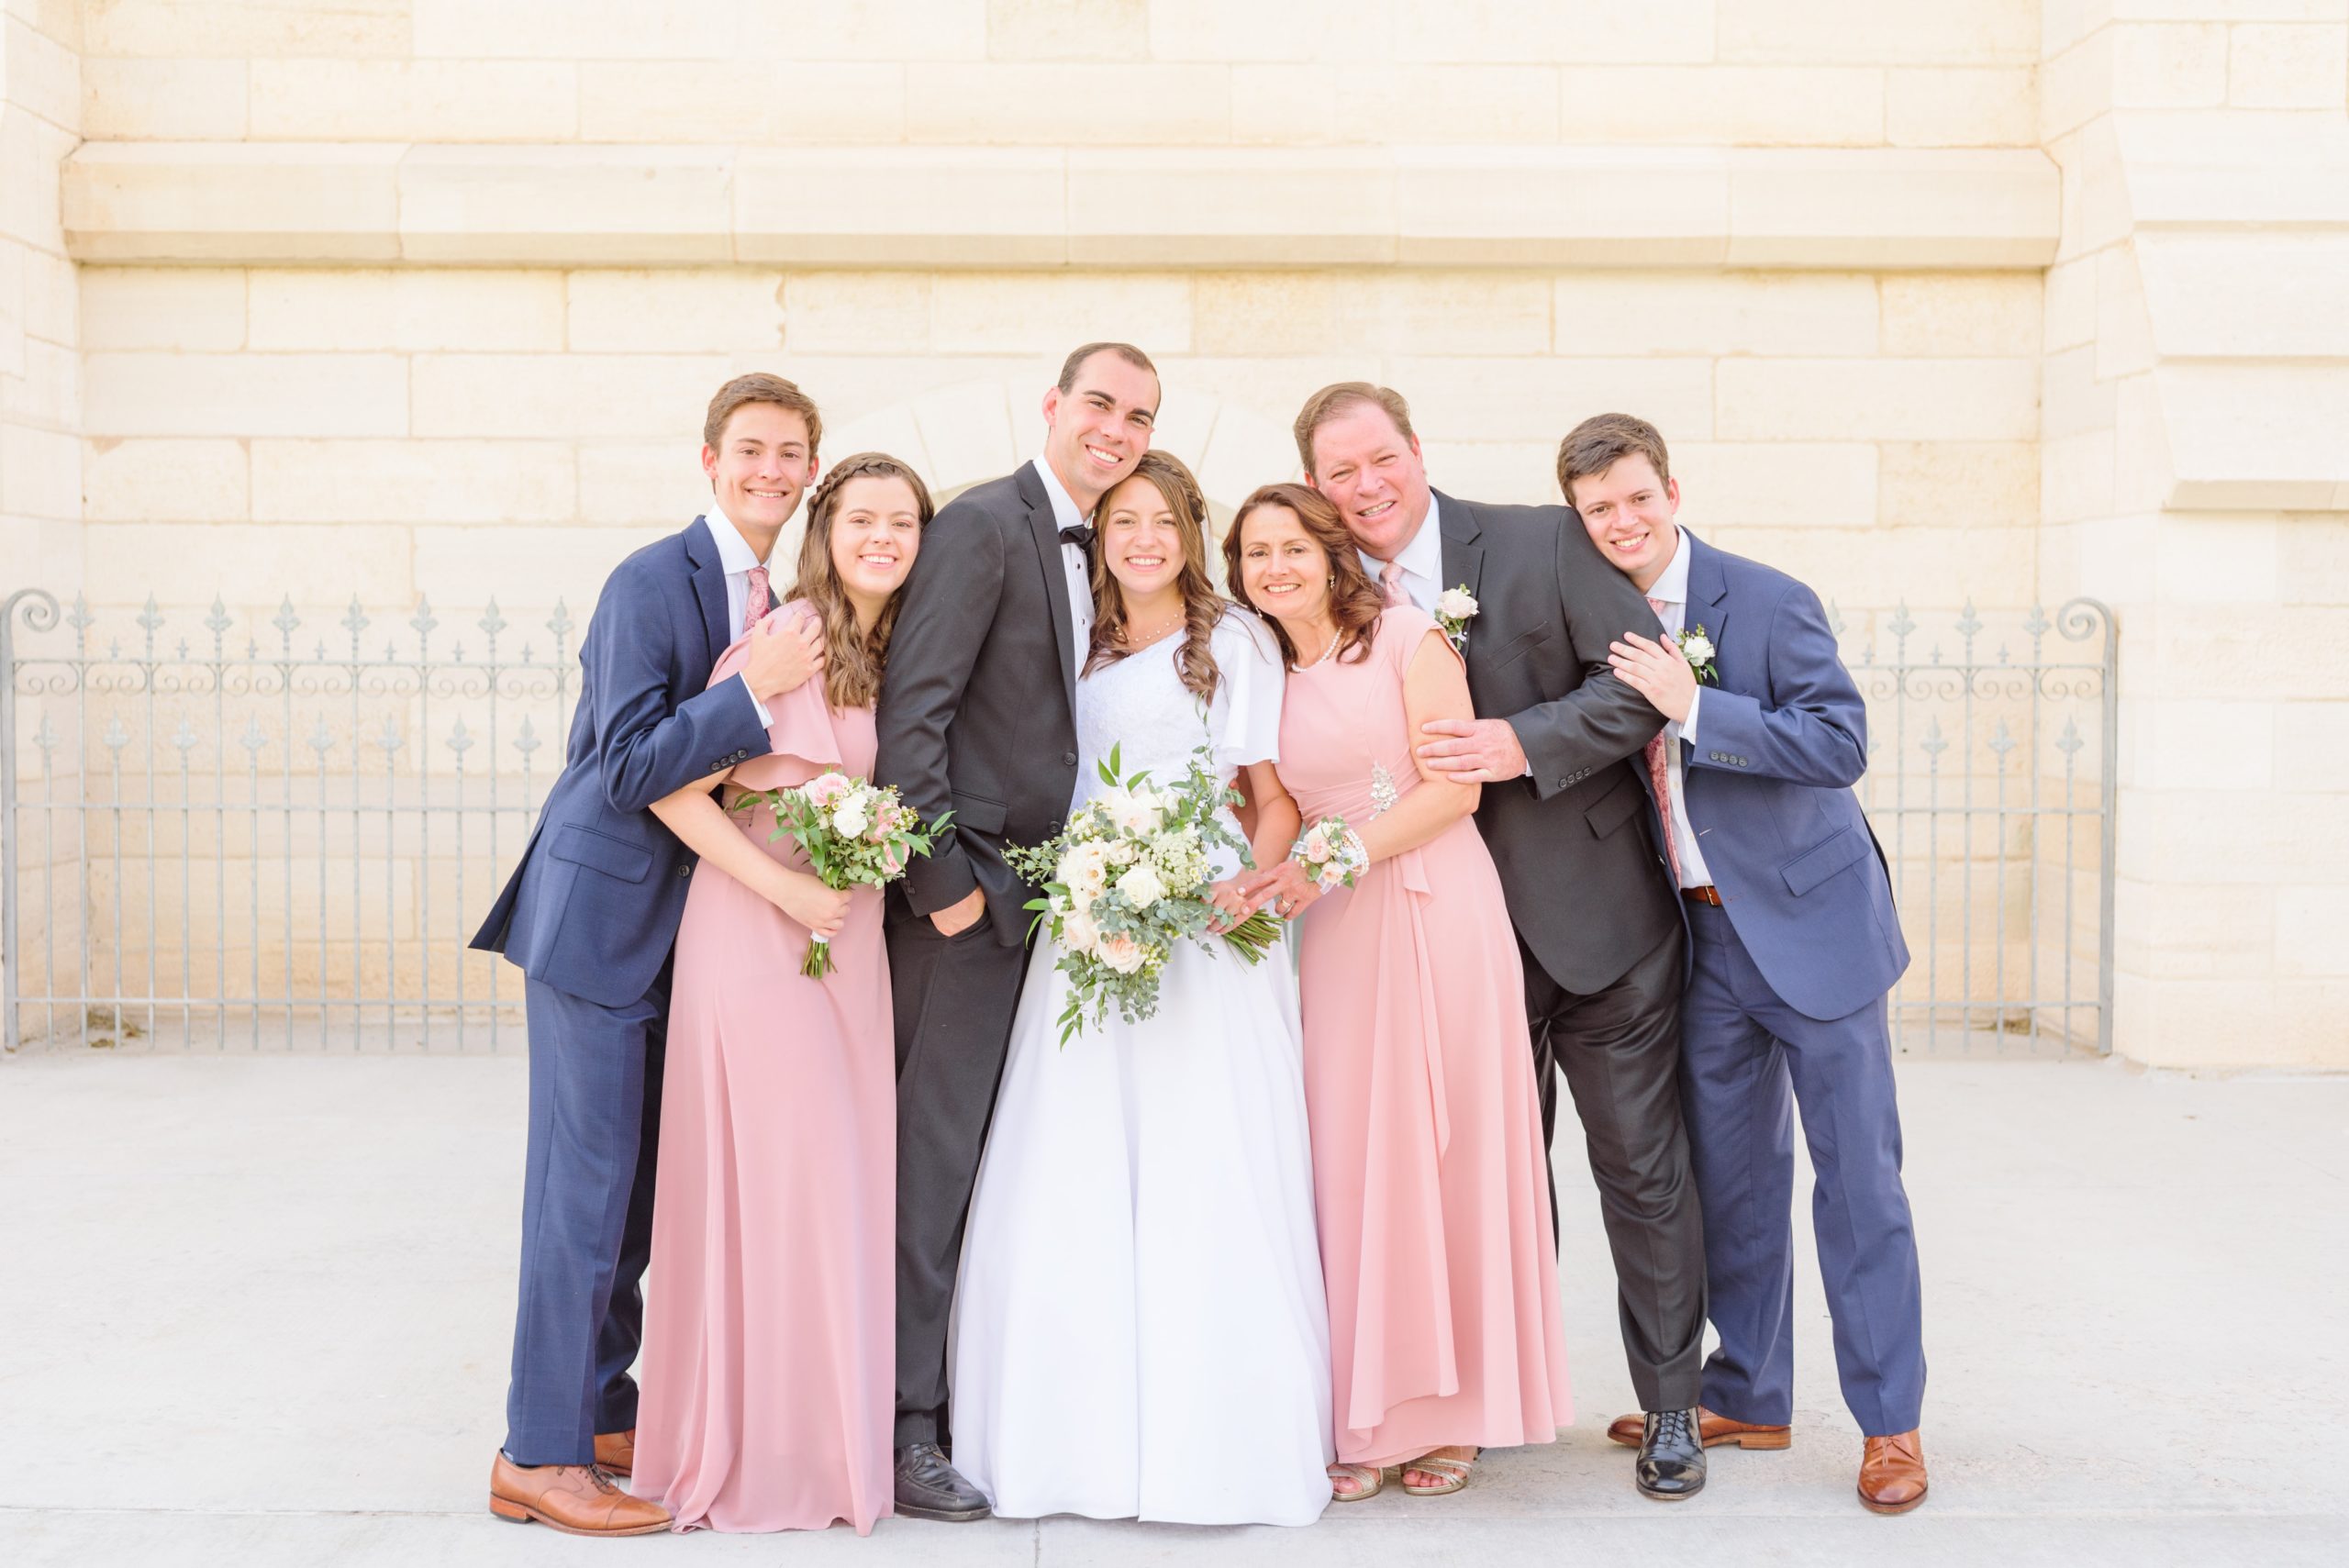
5:15 – 5:45 Family Photos
I’ve got a pretty smooth system down for taking family photos fast and painlessly. The catch is, it works best if your family is prepped for how this is going to go beforehand. Many family members will come up with a bunch of extra shots they want while we’re taking photos. Going out of order and trying to come up with a bunch of family groupings on the spot is the best way to get your timeline thrown off track. Family photos run amok can eat into your photos together as a couple!
You can make sure this doesn’t happen by:
- Creating a wedding timeline with plenty of time allotted to family photos.
- Asking your parents beforehand what family groupings they would like (then make sure you put those on the wedding questionnaire I send you!)
- Telling your relatives that I’ve been instructed to stick only to the shot list you’ve given me so we remain on time.
- Print out the shot list and give a copy to your parents the morning of. They’ll feel included, and they’ll know what to expect.
- If you’d like more ideas on making family photos quick and painless, check out my family photos guide!
Minimum Time Needed: 30 minutes
Add More Time Here If: You are wanting photos with your extended family.
5:45 – 6:00 Bride in Hiding, Prepare for the Ceremony!
Minimum Time Needed: 15 minutes
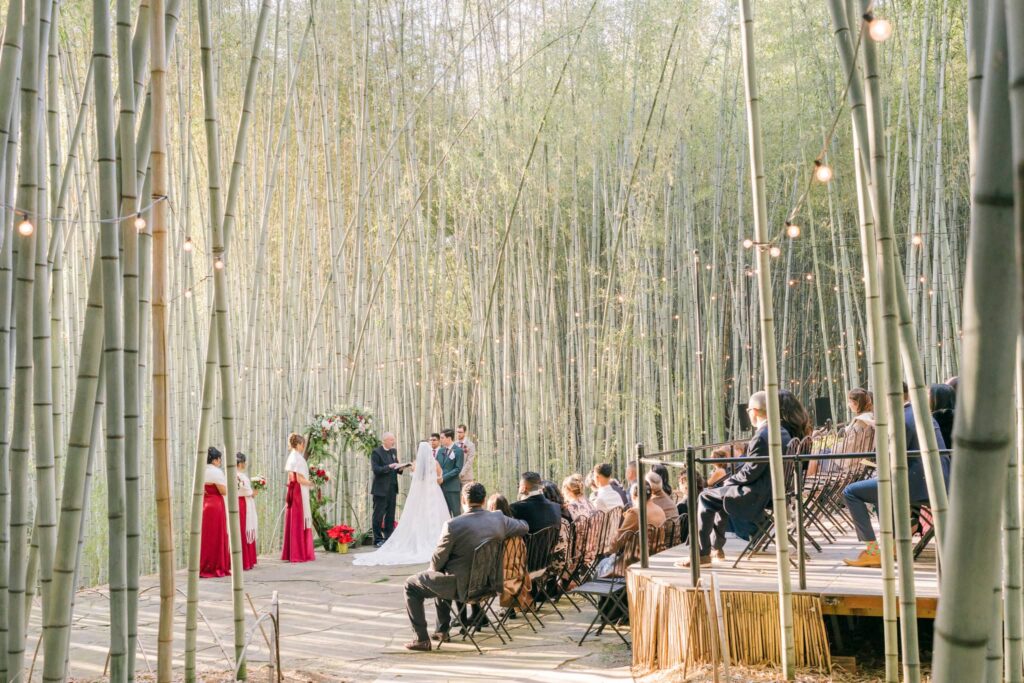
6:00 – 6:30 Ceremony
Minimum Time Needed: 30 minutes to 45 minutes
Add More Time Here If: You’ll have an extra long ceremony, such as a Catholic mass
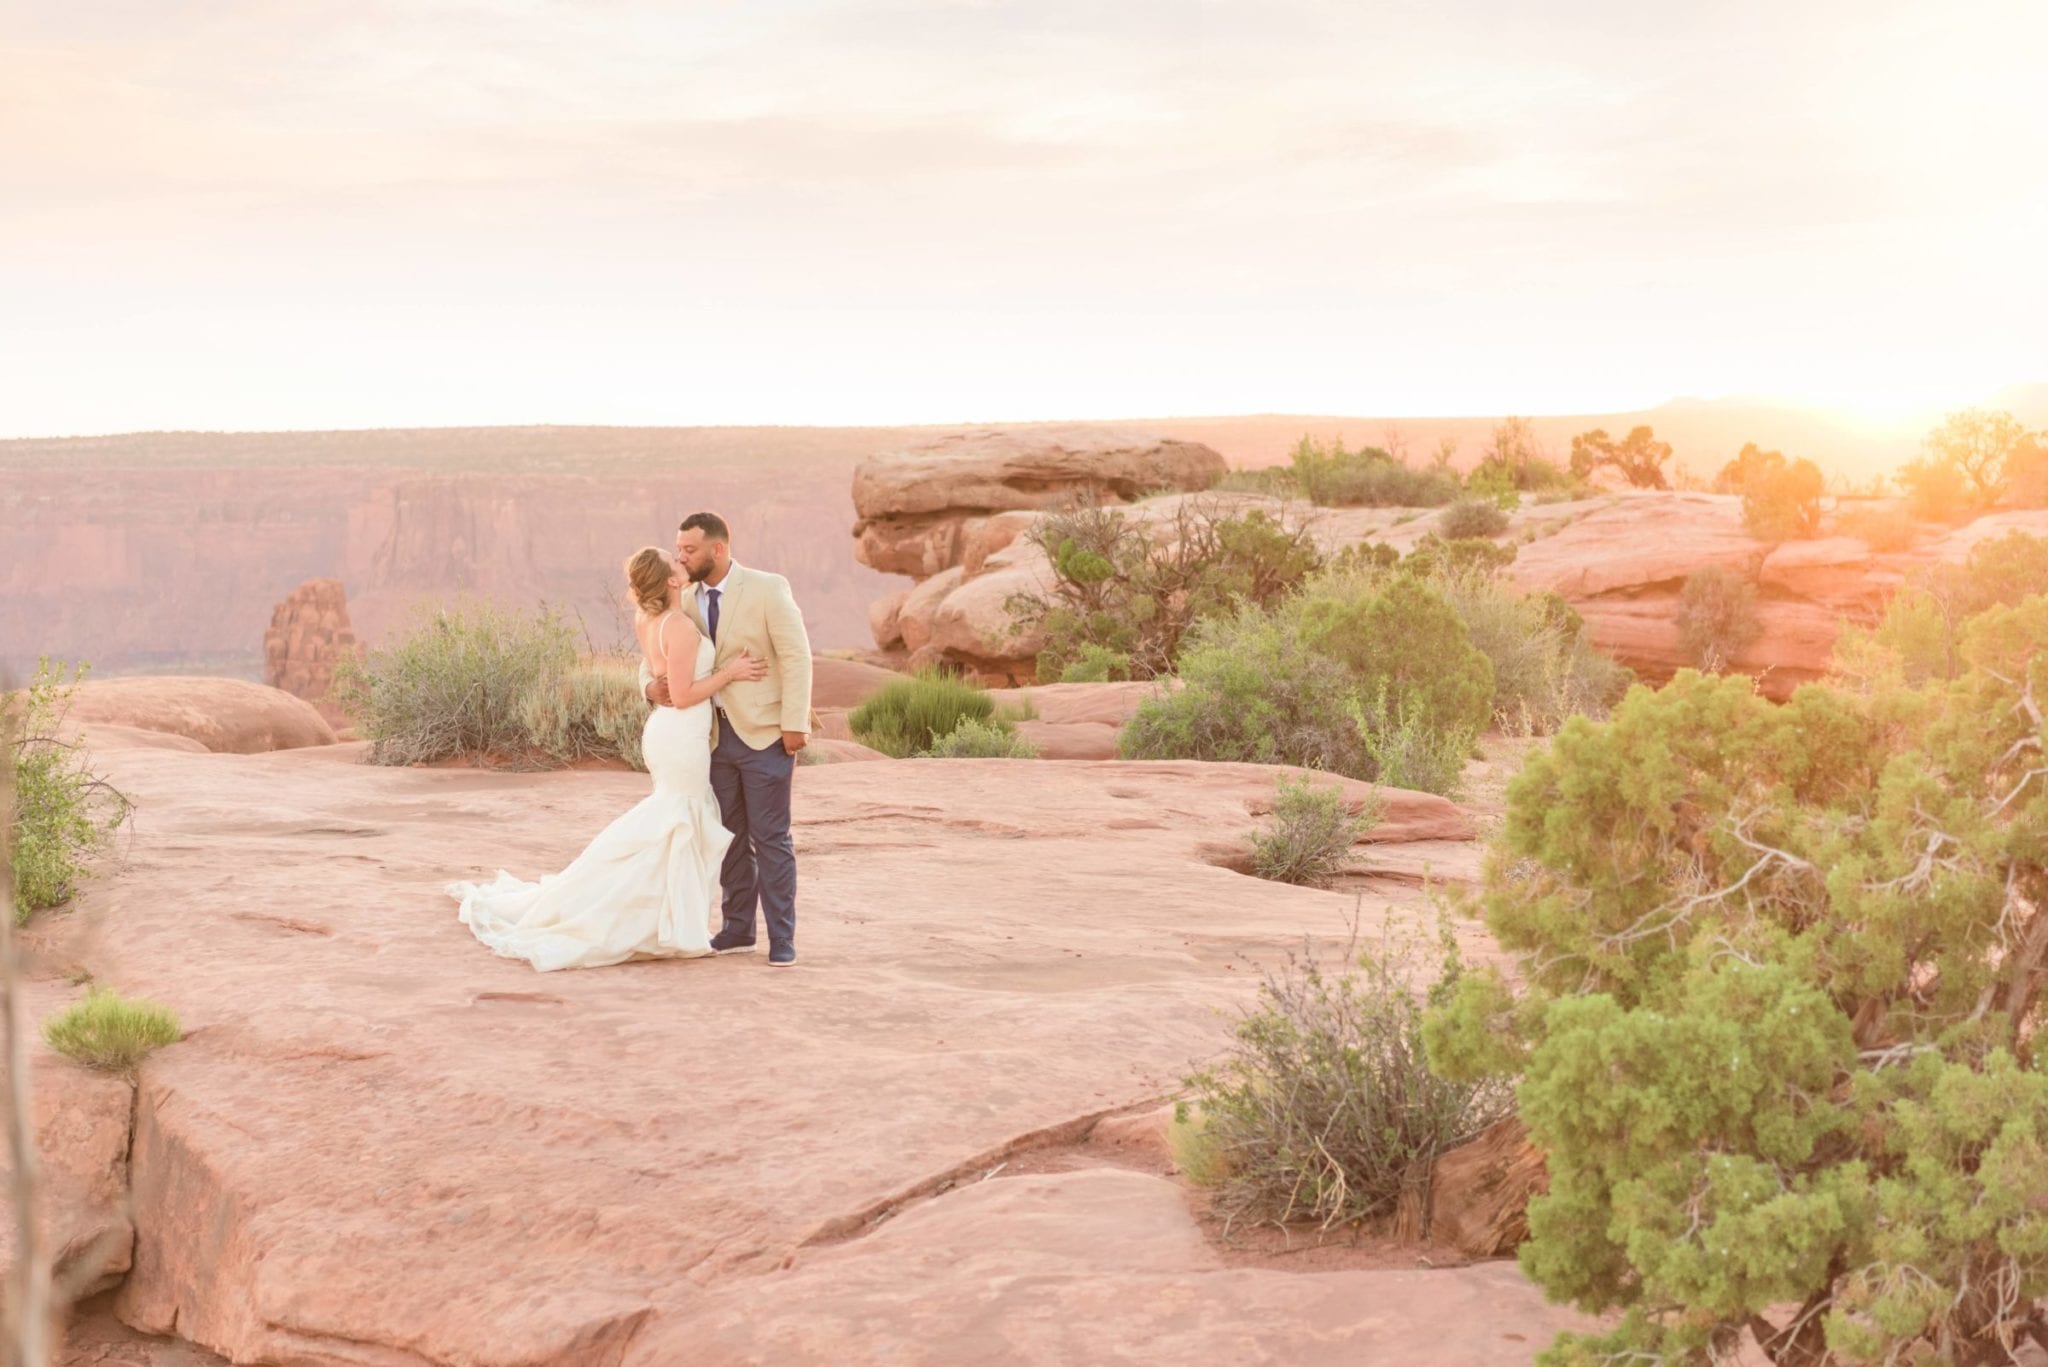
6:30 – 7:00 Sunset Portraits
Your ceremony and sunset photos are probably going to be your favorite photos from the entire day. Notice they’re listed just before sunset- that way you can get the dreamy golden hour light with the photos you’ll want to frame. Your guests can enjoy cocktail hour while we traverse the grounds and you can spend a little more time together.
No matter what the timeline for the rest of your day looks like, try to schedule some time an hour before the sun sets on your wedding day for these portraits together.
Minimum Time Needed: 30 minutes to an hour
Add More Time Here If: You won’t have a first look, or you have a large venue that requires us to spend a lot of time walking/driving to different spots.
* 7:00 – Sunset *
7:00 – 8:00 Dinner
Now’s your chance to sit and relax a bit. Grab some food, and get ready for the party to start! During this time I will be eating when you eat, setting up for the reception, and grabbing candid photos of your guests at their tables.
Minimum Time Needed: An hour
Add More Time Here If: You are doing a reception line before dinner, or if you’re wanting photos with each table.
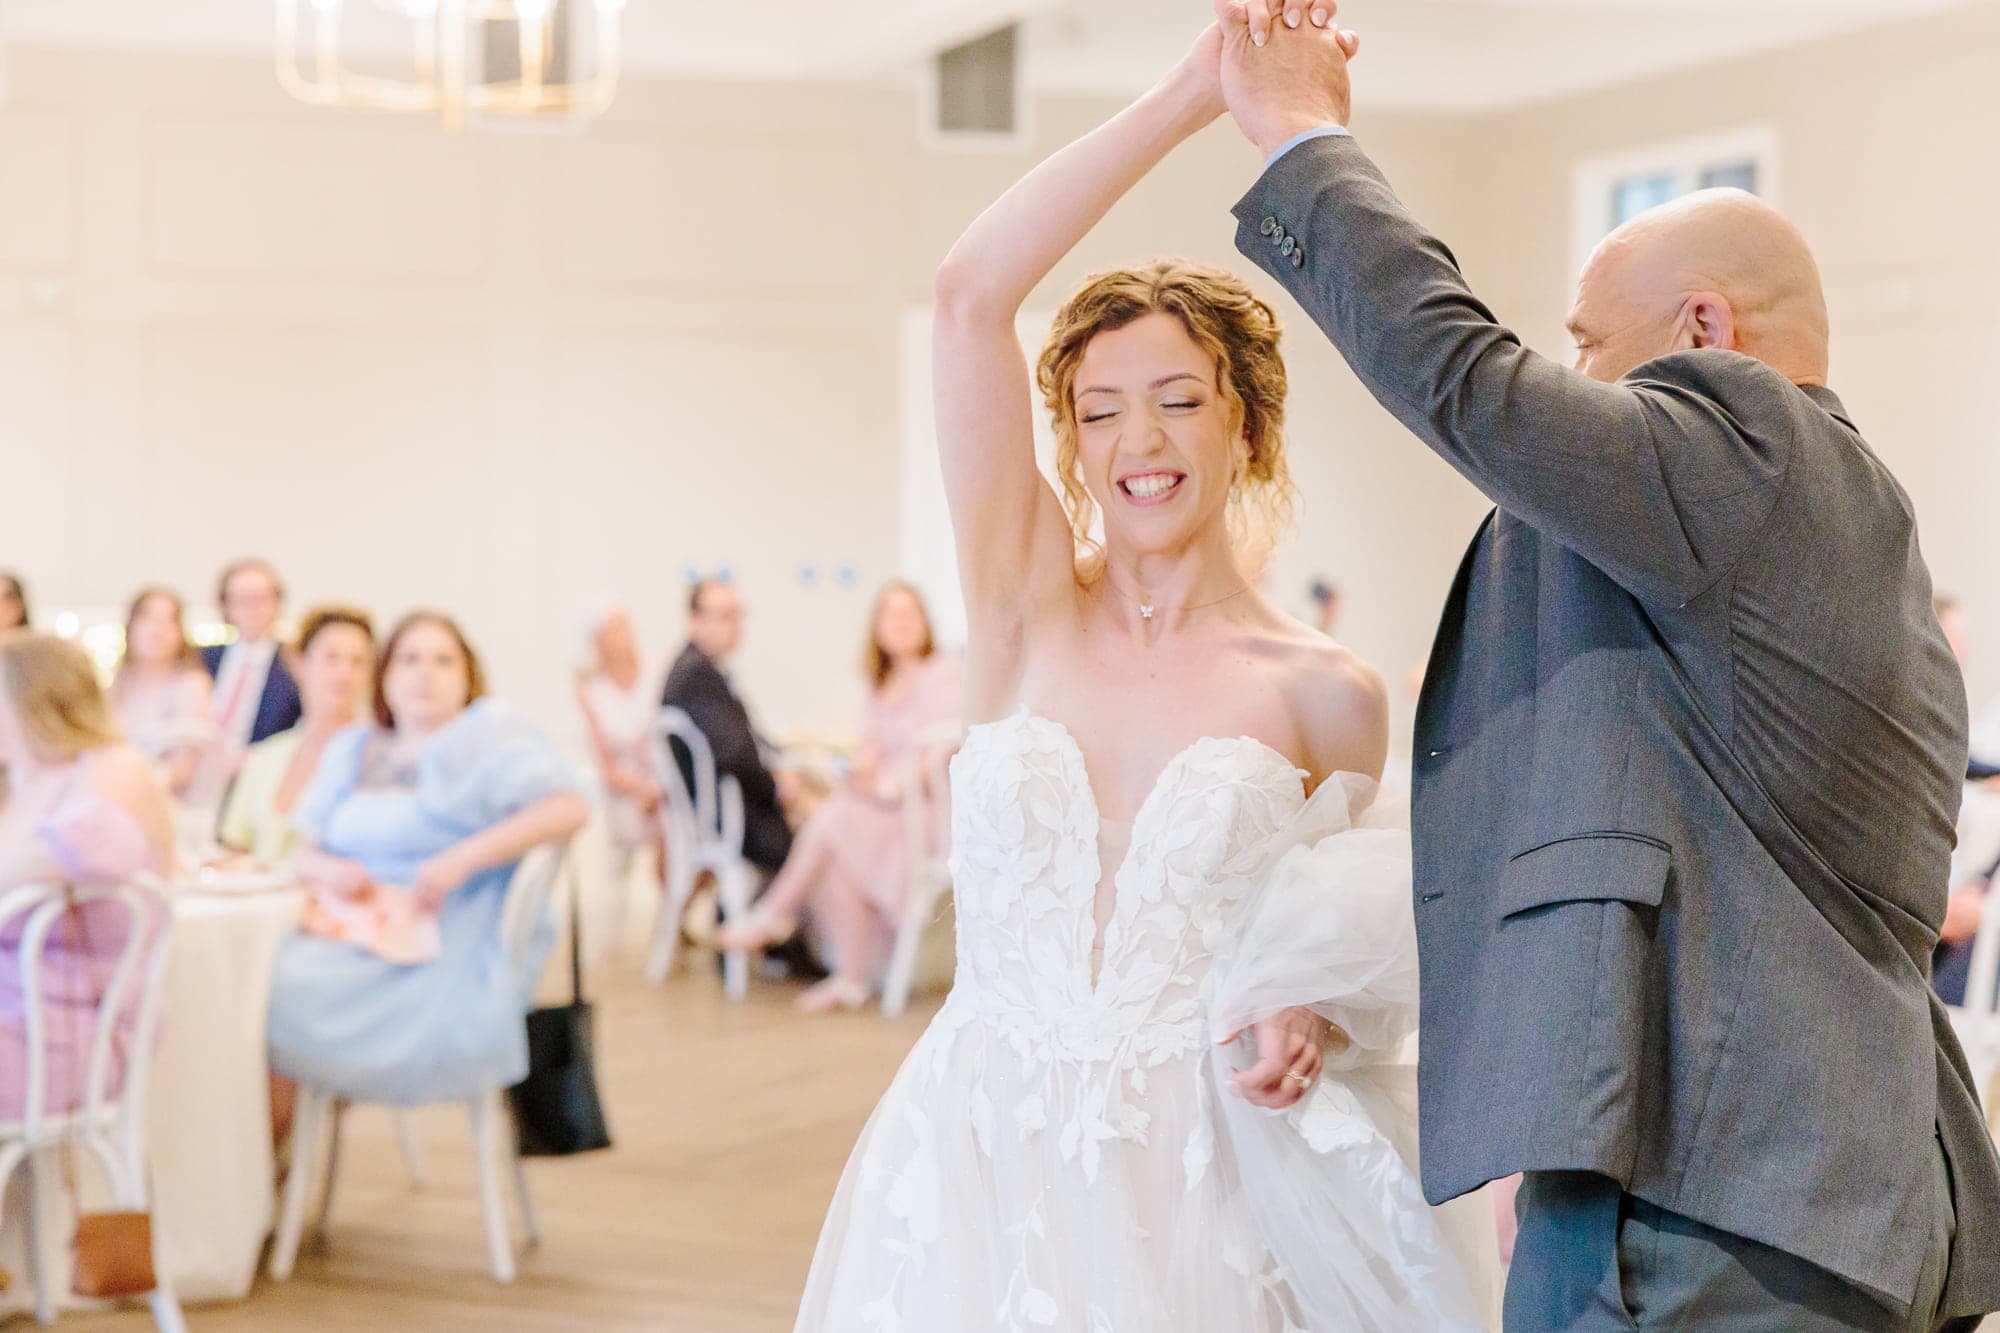
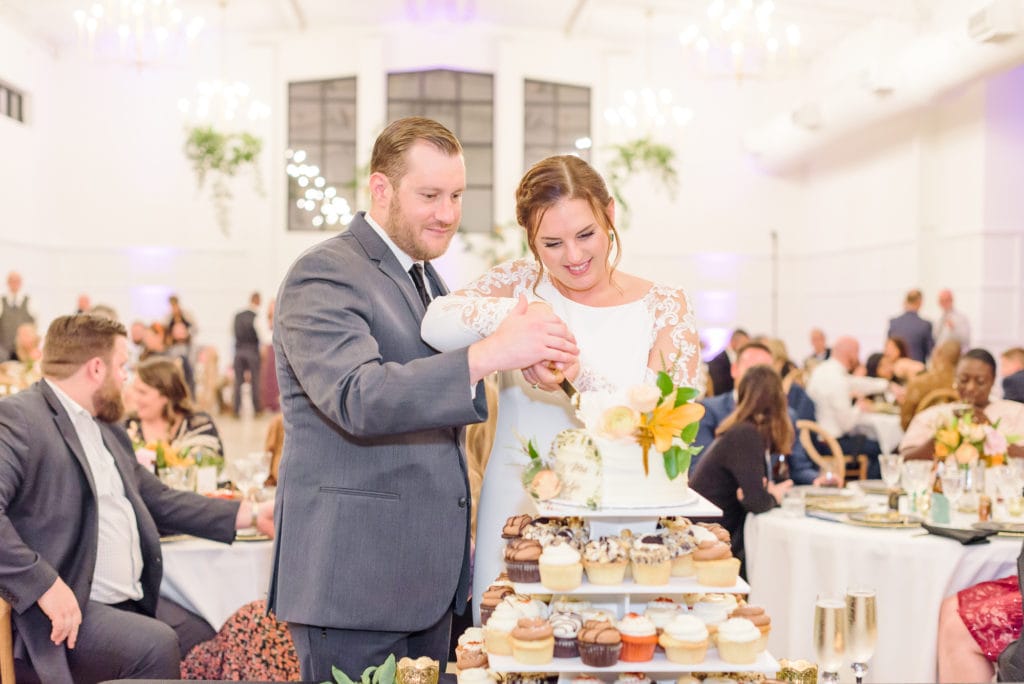
8:00 – 10:00 Reception
Most people will have me cover only the first half of the reception. I’ll be able to capture the traditions like cake cutting, special dances, and toasts before you start to dance the night away. If you are wanting a sparkler exit covered, or another type of speciality exit, here are some ideas!
- Do a sparkler entrance instead! This is my favorite option because your guests aren’t drunk or disheveled yet, and everyone is still there- no one has left for the night. Plus, your entrance into the reception is a natural, celebratory point. It makes sense!
- Fake exit. Some people will do a faux exit about half way through their reception (or whenever their coverage ends), and then come back in and keep dancing. Just be aware that this can sometimes cause confusion with your guests, and some may decide to leave early!
- Add on additional hours. If your heart is set on doing your exit at the end of the night, you can add additional hours to reach the end of your reception.
If you want to see how to plan your reception step by step, you can check out the best reception timeline for your wedding day here.
Minimum Time Needed: 2 hours +
Add More Time Here If: You have a specialty exit you really want to happen at the end of the night.
Frequently Asked Questions
Now you should have all the steps you need for creating a wedding timeline!
I hope this helps you on your way to creating a wedding timeline. This guide is meant to give you gorgeous light, and ample time to party. With this guide and the recommended photography time for each event, you can create a unique day that fits your wedding dreams!
The Timeline Guide for Your Reception
Explore the wedding world
Get my 5 favorite Engagement poses, with tips from a charlotte wedding photographer

")


Comments